This tutorial shows how to use multistate objects in Captivate with simple actions. It’s an incredibly powerful way to create efficient and engaging eLearning applications.
What are multistate objects?
Before we start, let’s talk about what a multistate object is, and why you might want to use multistate objects in Captivate.
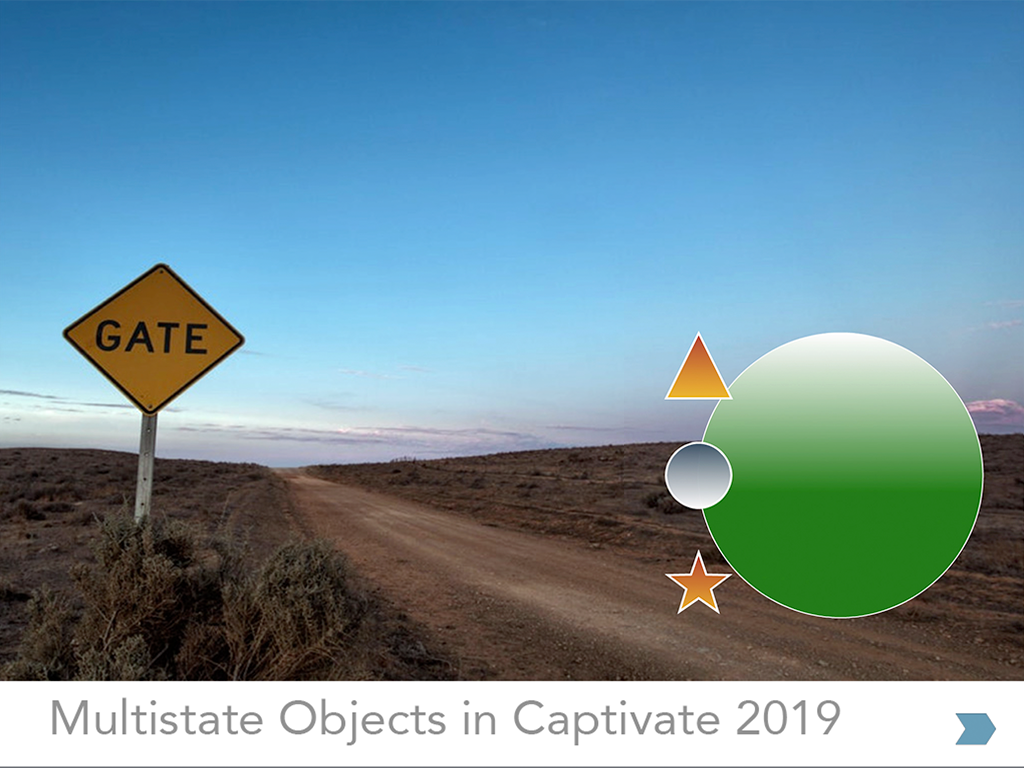
It should be mentioned here that we’re going to be working with Smart Shapes in this exercise. The most obvious multistate object is a button, where the states represent what you might see when you roll over, press and release the button, (effectively the ‘visited’ state), as well as the state that you see when your mouse is nowhere near the button (Normal).
These state changes are automatically triggered when you use your mouse and interact with the button. The first exercise in this tutorial is to create Smart Buttons that will change the state of a multistate object.
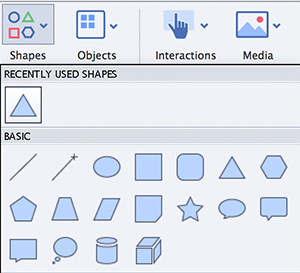
Let’s begin by creating a Smart Shape.
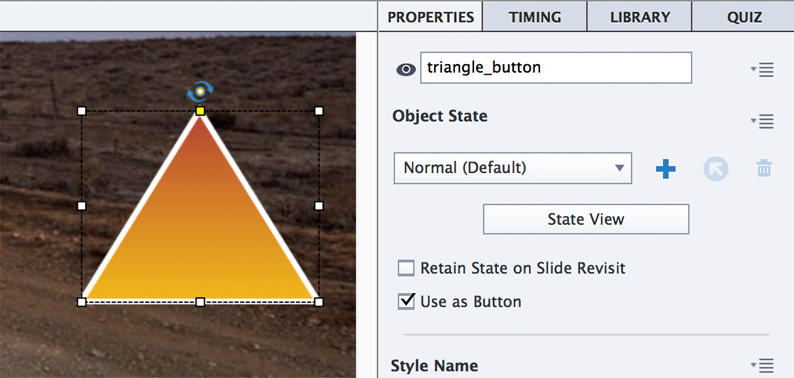
Select Shapes in the button bar, and draw a Smart Shape – I’ve chosen a triangle here, and styled it using a gradient fill and a white stroke.
With the shape still selected, check the ‘Use as Button’ checkbox, and label the button something meaningful – I’ve called mine ‘triangle_button’. This isn’t mission-critical, but is definitely good practice.
Viewing a button’s Object States
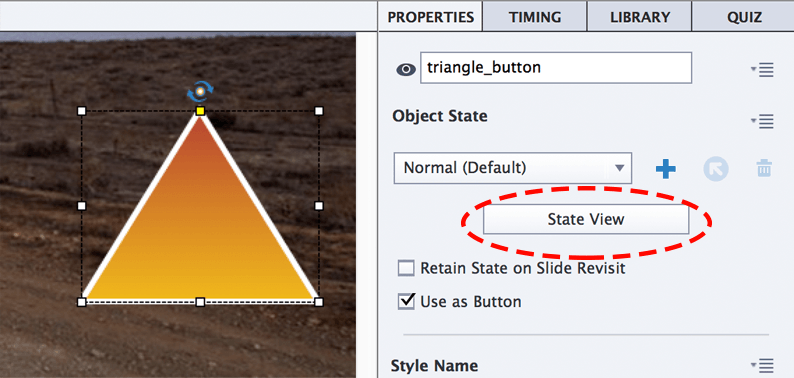
In order to change how a button looks when you roll over it etc, we have to enter the button’s timeline.
You do this by selecting the button and clicking ‘State View’. You should see the default states of a Smart Shape that is being used as a button.
You should also see the button in your timeline, coloured green with a ‘pause’ icon showing that it’s an interactive element.


Editing a button’s Object States
We’re going to change how the button looks when you roll over, press, and have used the button (visited).
In the button’s ‘Object State’ panel, click the ‘RollOver’ state, select the shape, and change the fill, stroke (even position if you require).
Do the same for the ‘Down’ state, and when you’re finished editing, click the ‘Exit State’ button on the toolbar to return to your regular editing environment.

Preview your project
Now preview your project and roll over the button, and press the button.
You should see the button change colour depending on what changes you made to the artwork.
Creating a ‘Visited’ button state
Now we’re going to create a ‘Visited’ state on the button, which will show after you’ve clicked the button.
Before we do this, let’s just make sure that the button doesn’t actually try and perform any actions (the default action is to go to the next slide.
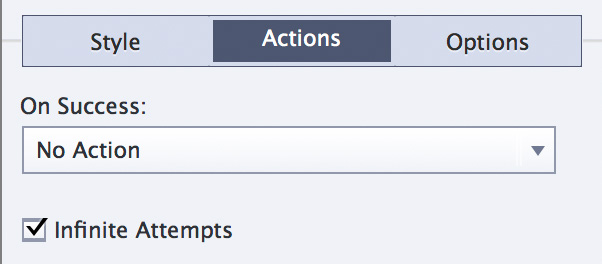
Select the button, choose the ‘Actions’ tab and in the dropdown, choose ‘No Action’.
Select the button and choose ‘State View’.
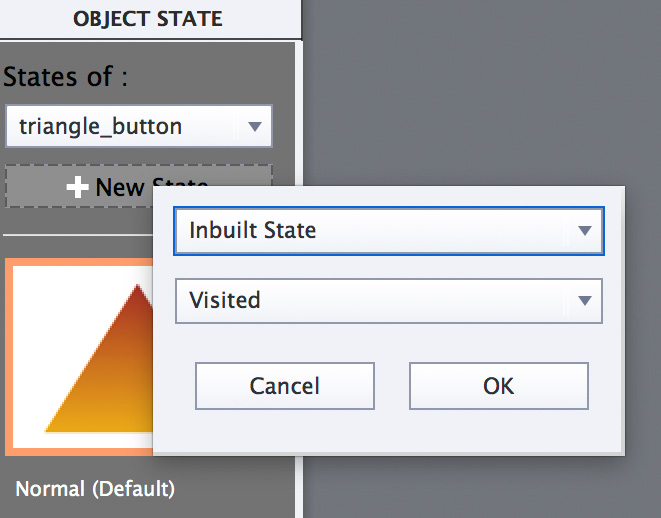
At the top of the panel click the ‘New State’ button. Choose ‘Inbuilt State’ from the first dropdown, and ‘Visited’ from the second.
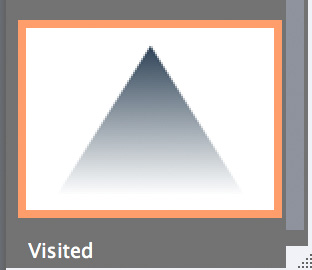
You’ll see a new state appear at the bottom of the panel with a label.
Select and style as desired. Click the ‘Exit State’ icon as before on the main button bar to return to the main project.
Create a multistate object
Now we’re going to create the multistate object that will be controlled by a series of buttons.
Select Shapes in the button bar, and draw a Smart Shape – I’ve styled it using a gradient fill and a white stroke.
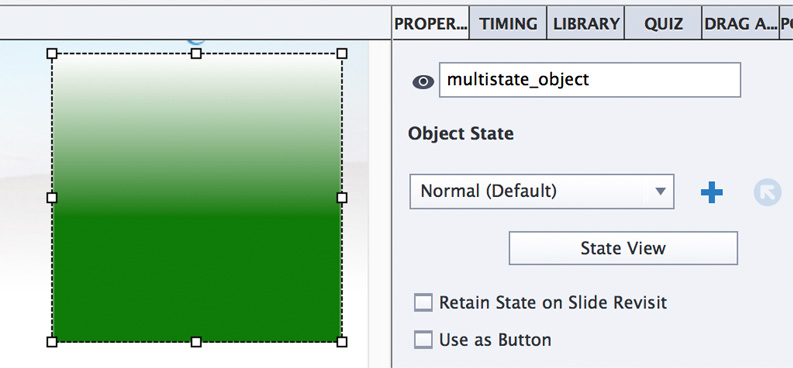
With the shape still selected, label the shape something meaningful – I’ve called mine ‘multistate_object’.
Once we start using actions, it’s important to be able to identify the objects you want to control.
Custom Object States
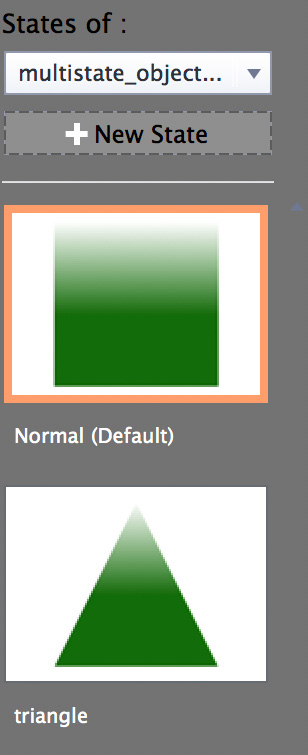
In the same way as you created a new button state in the previous section, do the same here by selecting the shape you just drew, clicking the ‘State View’ button in the Properties Panel, and then clicking the ‘New State’ button at the top of the Object States panel.
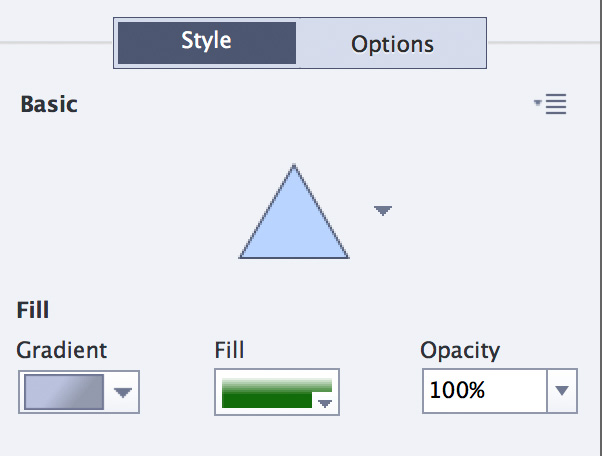
Label the new state ‘triangle’, and then change it’s shape to a triangle in the Properties panel.
Completed Custom Object States
Repeat the last step, creating a separate state for a circle and a star. Label the states accordingly.
The next stage will be to make duplicates of the button you made in the first step – one for each of the states in the multistate object, then add actions to each of them.
So when you click the triangle button, the Smart Shape will show you whatever is in the ‘triangle’ state, etc.
It’s useful to note that you can put practically anything here. Smart Shapes, images, Text Captions, Animations, Video, Web Objects etc.
But you can’t add audio unless you attach it to an object.
Neither can you add any other interactive objects like Buttons or Smart Shapes being used as buttons.
Duplicate Smart Buttons
Duplicate your Smart buttons, change their shapes appropriately, and position them.
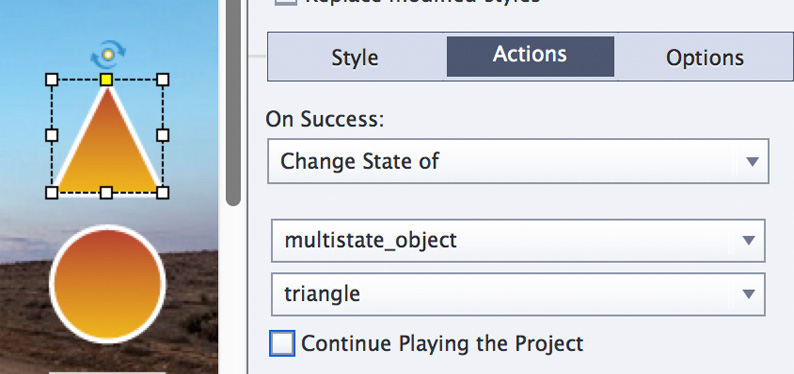
One by one, select each button, choose the Actions tab in the Properties panel, and in the first dropdown menu, select ‘Change State of’.
Once selected, this will make another menu available, where you should choose the ‘multistate_object’ you were just working on.
Then choose the appropriate state for the button you have selected.
This example shows the triangle button having the action applied to it.


Conclusion
Hopefully this tutorial has made you think about how powerful multistate objects can be in your Captivate projects.
Stay tuned for the next episode and don’t forget to download the source files for the project from my website.
If you’re needing some help developing eLearning projects, or need a website, please feel free to contact me.
Thank you!
Thanks to James Fitzroy Photography for the loan of his image. James is an incredible photographer who manages to capture the real essence of the Australian Outback. If you like this image, you should check out his website and his facebook page.


 | © 2014 John Ryan Design | All Rights Reserved | 100 percent Australian |