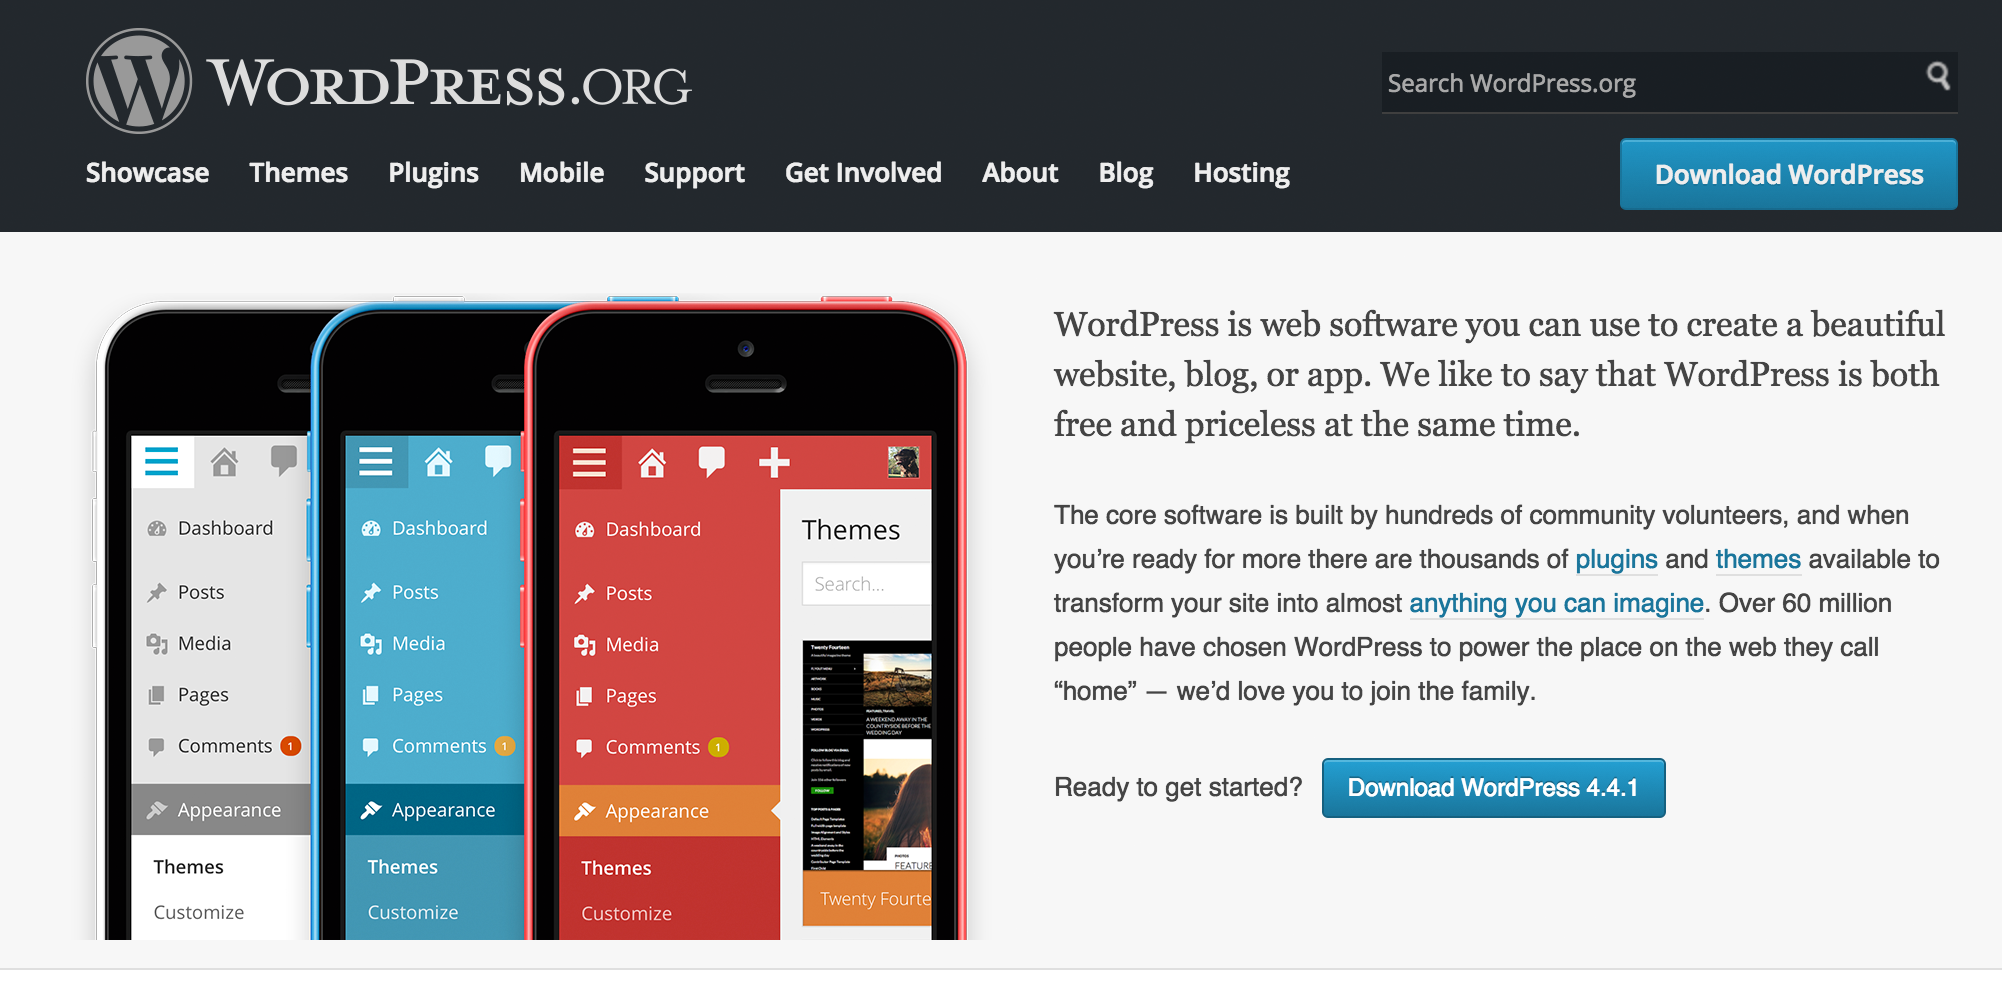
WordPress Installation on Mac and Windows
Hi folks. As promised, here’s another in a series of tips and tricks. This one is about how to go about a WordPress installation. On Mac or Windows.
If you’ve followed the previous post, you’ll already know how to install a local (on your own machine) server.
If you want to do a WordPress installation on your existing ISP’s (Internet Service Provider’s) server, hang tight – I’ll cover that in the next post.
Why would you want to install WordPress as your preferred Content Management System?
First of all, some statistics (note: probably by the time I’m finished writing this, the figures will already be out of date).
- WordPress is used on approximately 25.8% of all websites worldwide.
- In terms of market share, that’s about 59.1% of all websites that use a Content Management System.
- If you were to narrow down those Content Management Systems to Open Source (ie: free to use), WordPress installations grab a whopping 68% of the market! Thats nearly 2.5 million websites.
- The closest competitors are Joomla with 382,000 and Drupal with 245,000. Those figures should tell you that WordPress is by far the most popular platform, and growing daily.
* Statistics compiled by http://w3techs.com/, http://www.opensourcecms.com/
Why would you want to do this? Here are some scenarios:
- You’re setting up a new business.
- You want an online brochure.
- You want to attract new customers.
- You want to be able to connect with customers 24/7.
- You want to keep people up to date with the latest news – your’s, your company’s etc.
- You want to create a tool where your organisation is connected in and out of the office.
- You want to sell something online.
Perhaps a better question would be: “Can you think of reasons why your organisation wouldn’t need a website”?
What’s required for a WordPress Installation?
- First of all you’ll need a web server. Either a local server (as detailed in the previous post, or an ISP’s server – detailed in the next post).
- This web server will need Apache, PHP and mySQL installed. (Check wordpress.org for base configurations).
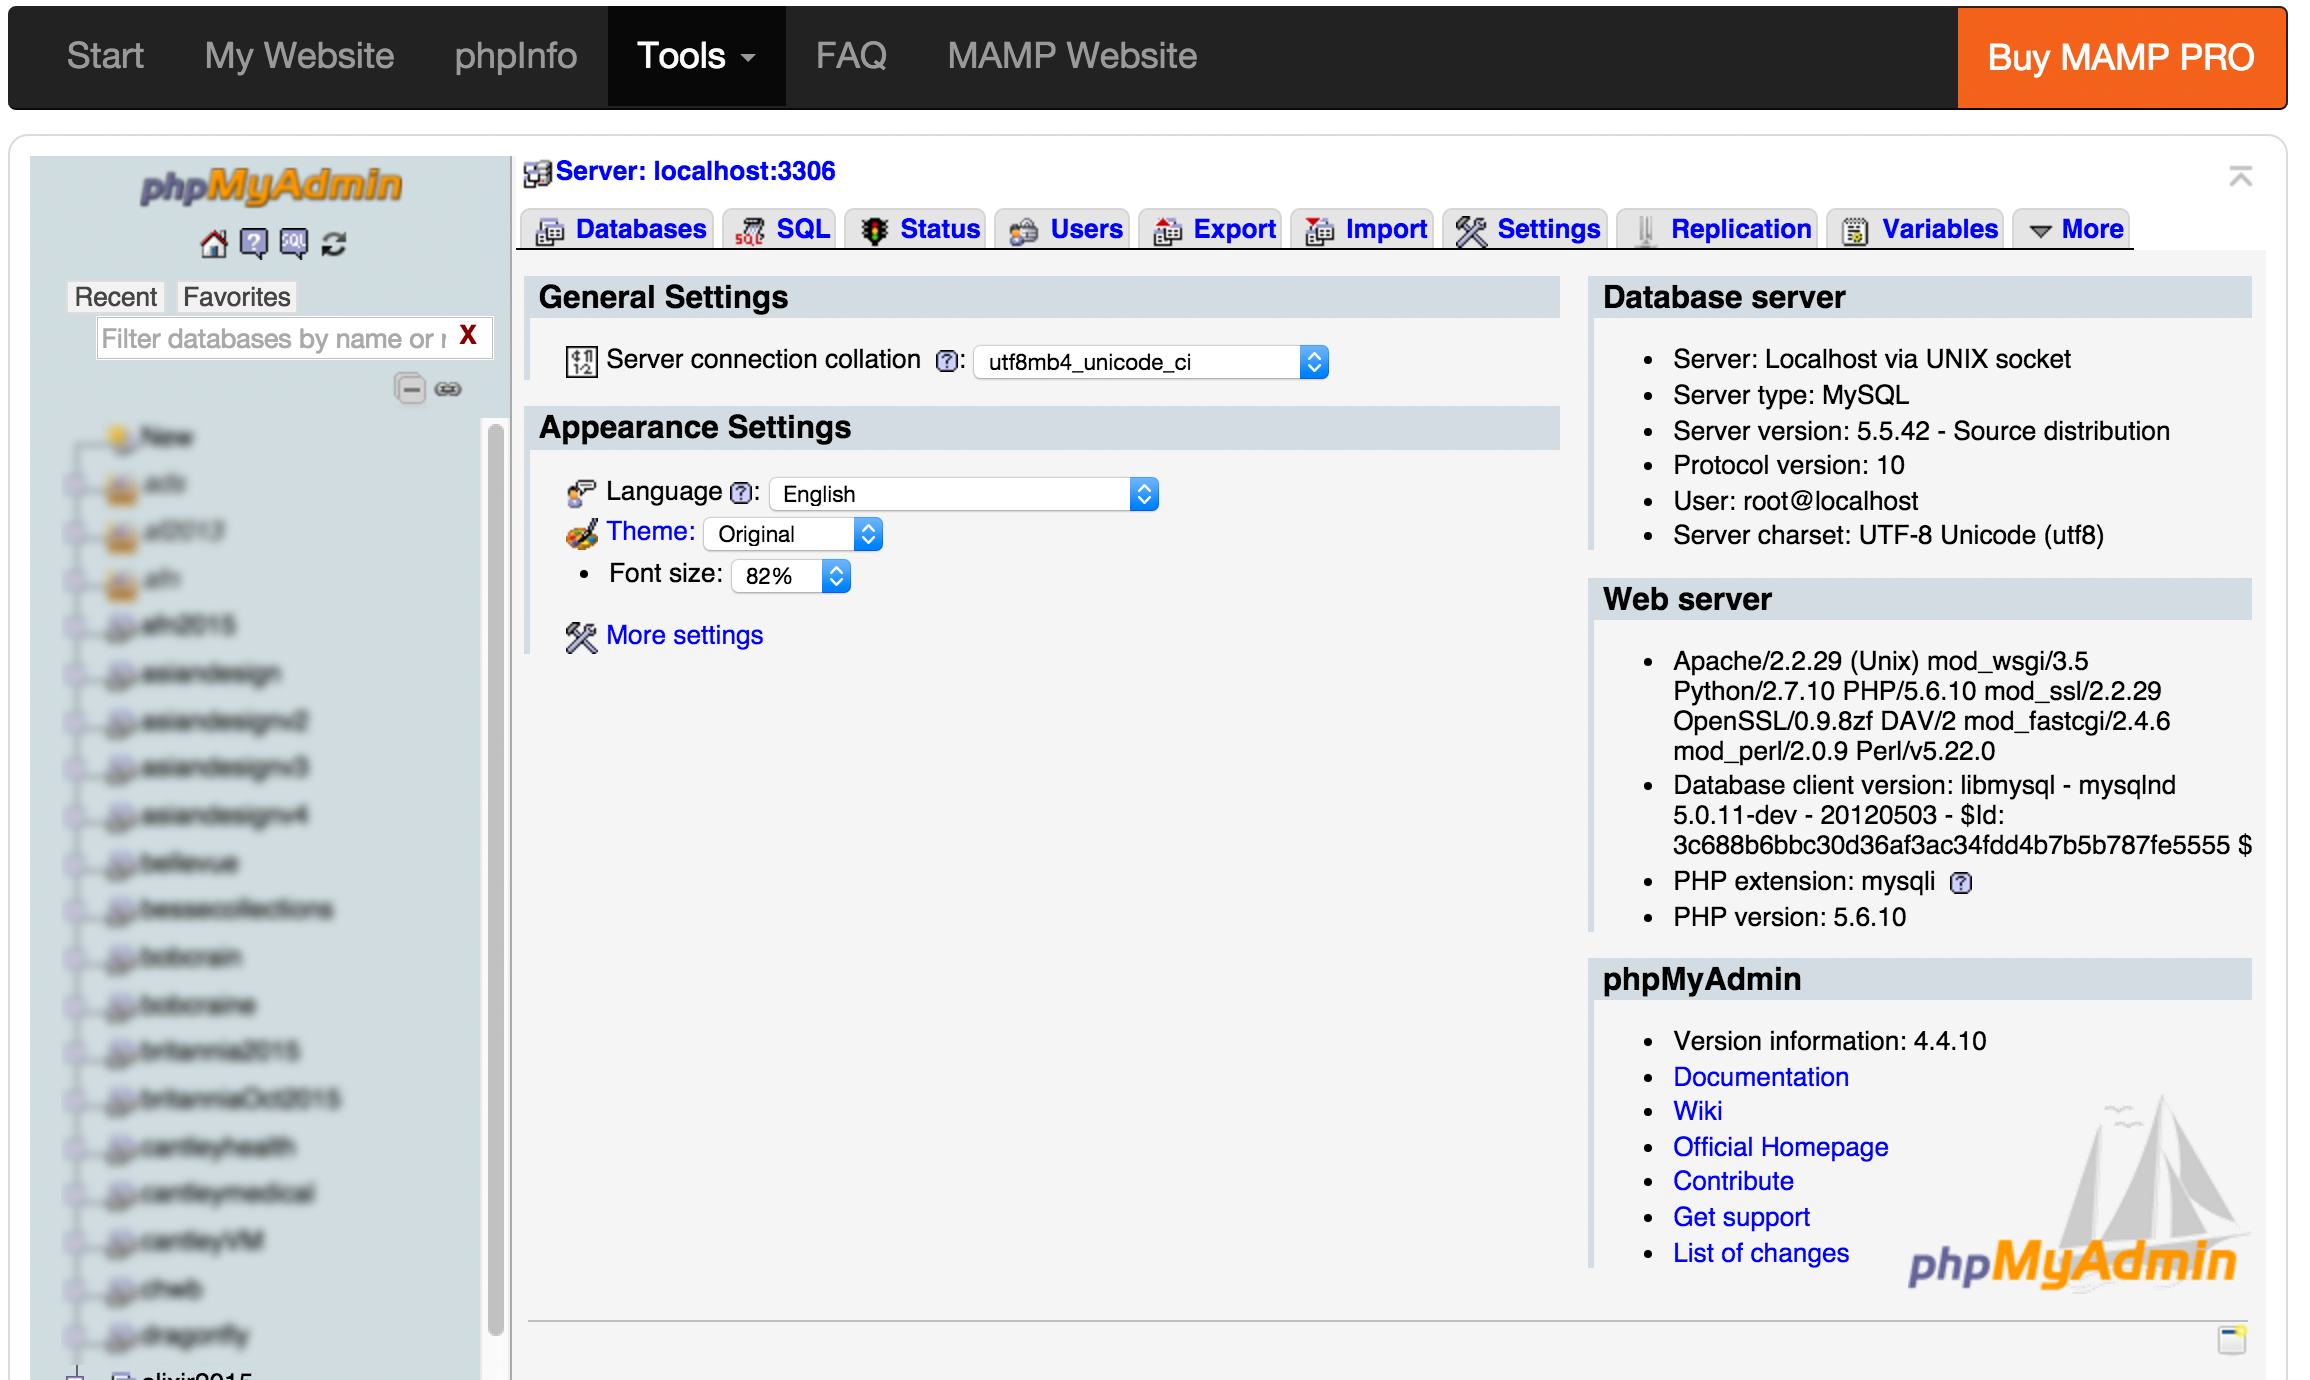
- On your server platform, you’ll need access to phpMyAdmin. This is usually installed by WAMP, XAMMP, MAMP and is usually resident on most ISP servers.
- Next, you’ll need to download the Wordpress installation files from wordpress.org.
- You should expand the downloaded .zip file to your webserver’s localhost root folder. (Fear not – details follow).
- Then you’ll use phpMyAdmin to either make a new database user with credentials, or use the default user provided by your ISP.
- You’d then create a database – again in phpMyAdmin.
- Lastly, you’d browse to the site’s root folder and begin the installation.
This process should take no more than 10 minutes!
Step 1 : Connecting with your server.
This post deals with a WordPress installation on a local server. As mentioned before, the next post will deal with how to do it on a remote server provided by your ISP.
Macintosh:
If you’re working on a Mac, chances are that you will have installed MAMP. So fire it up by double-clicking on the MAMP icon in your Applications folder.
You’ll have to provide an administrator login to proceed.
Windows:
Start up your WAMP or XAMPP server by double-clicking on the icon.
In both systems, you’ll be able to check whether the servers are running by typing http://localhost into a browser URL.
If you get a ‘page not found’ or similar, the server may not be running.
However, there’s a small twist – sometimes these local servers run off a particular port number, so you may need to type in http://localhost:8888.
Check your server installation manual for details.
To change the port number on a Mac, open MAMP control panel, click Preferences and set the ports to the following values (Apache : 80, MySQL:3306). By the way, MAMP usually defaults to (Apache : 8888, MySQL:8889)
This will allow you to just use http://localhost without the extra port info at the end of the URL.
On Windows / WAMP, click on the WAMP server icon and from the menu under Config Files select httpd.conf. A long text file will open up in notepad. In this file scroll down to the line that reads Listen 8080 (or another value) and change this to read Listen 80,.
Save the file and close notepad. Once again click on the wamp server icon and select restart all services.
Alternatively, if you’re on Windows/XAMPP, open C:\xampp\apache\conf\httpd.conf and change the same line to Listen 80.
Be aware that if you’re using IIS at the same time, you’re likely to have a conflict. So use another port number like 8080.
Your URL would then be http://localhost:8080.
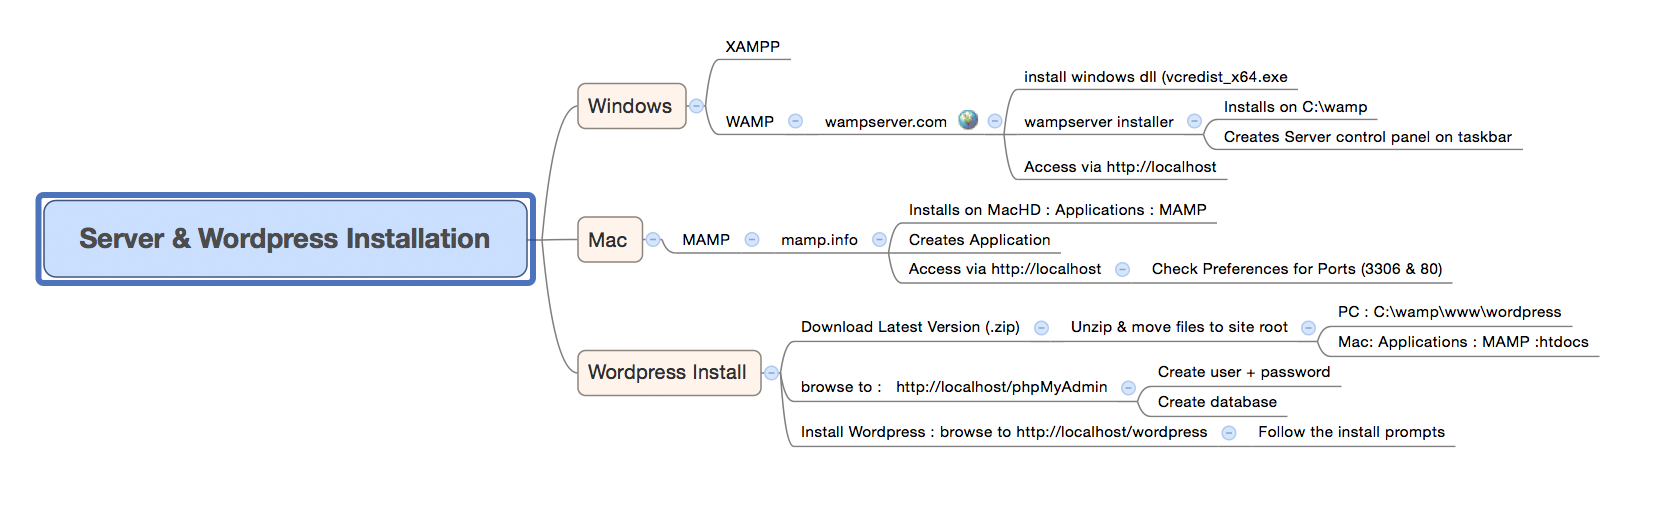
Step 2 : Downloading WordPress Core files.
Every WordPress installation requires these core files.
You can download them from http://wordpress.org.
- Click on the blue button to download to your hard drive.
- Expand them into your server’s site root:
For a Macintosh / MAMP server installation, this will be Applications:MAMP:htdocs
On Windows / WAMP it will be C:/wamp/www
On Windows XAMPP it will be C:/xampp/htdocs
Step 3: Creating a user and database in phpMyAdmin.
A WordPress installation requires a database to work. And a database is accessed by a registered user with appropriate credentials. In this process, you’ll learn how to create both in one easy step.
Note that your web server (comprising Apache, PHP and MySQL) must be running in order for you to do this.
On a Mac : Open the MAMP control panel and click Open WebStart page. MAMP’s server page opens. You should then click the link to phpMyAdmin.
On Windows : open your Server Control Panel (WAMP and XAMMP) from the icon in the task bar.
Click the phpMyAdmin link.
On both platforms, this should lead you to the following URL : http://localhost/phpMyAdmin.
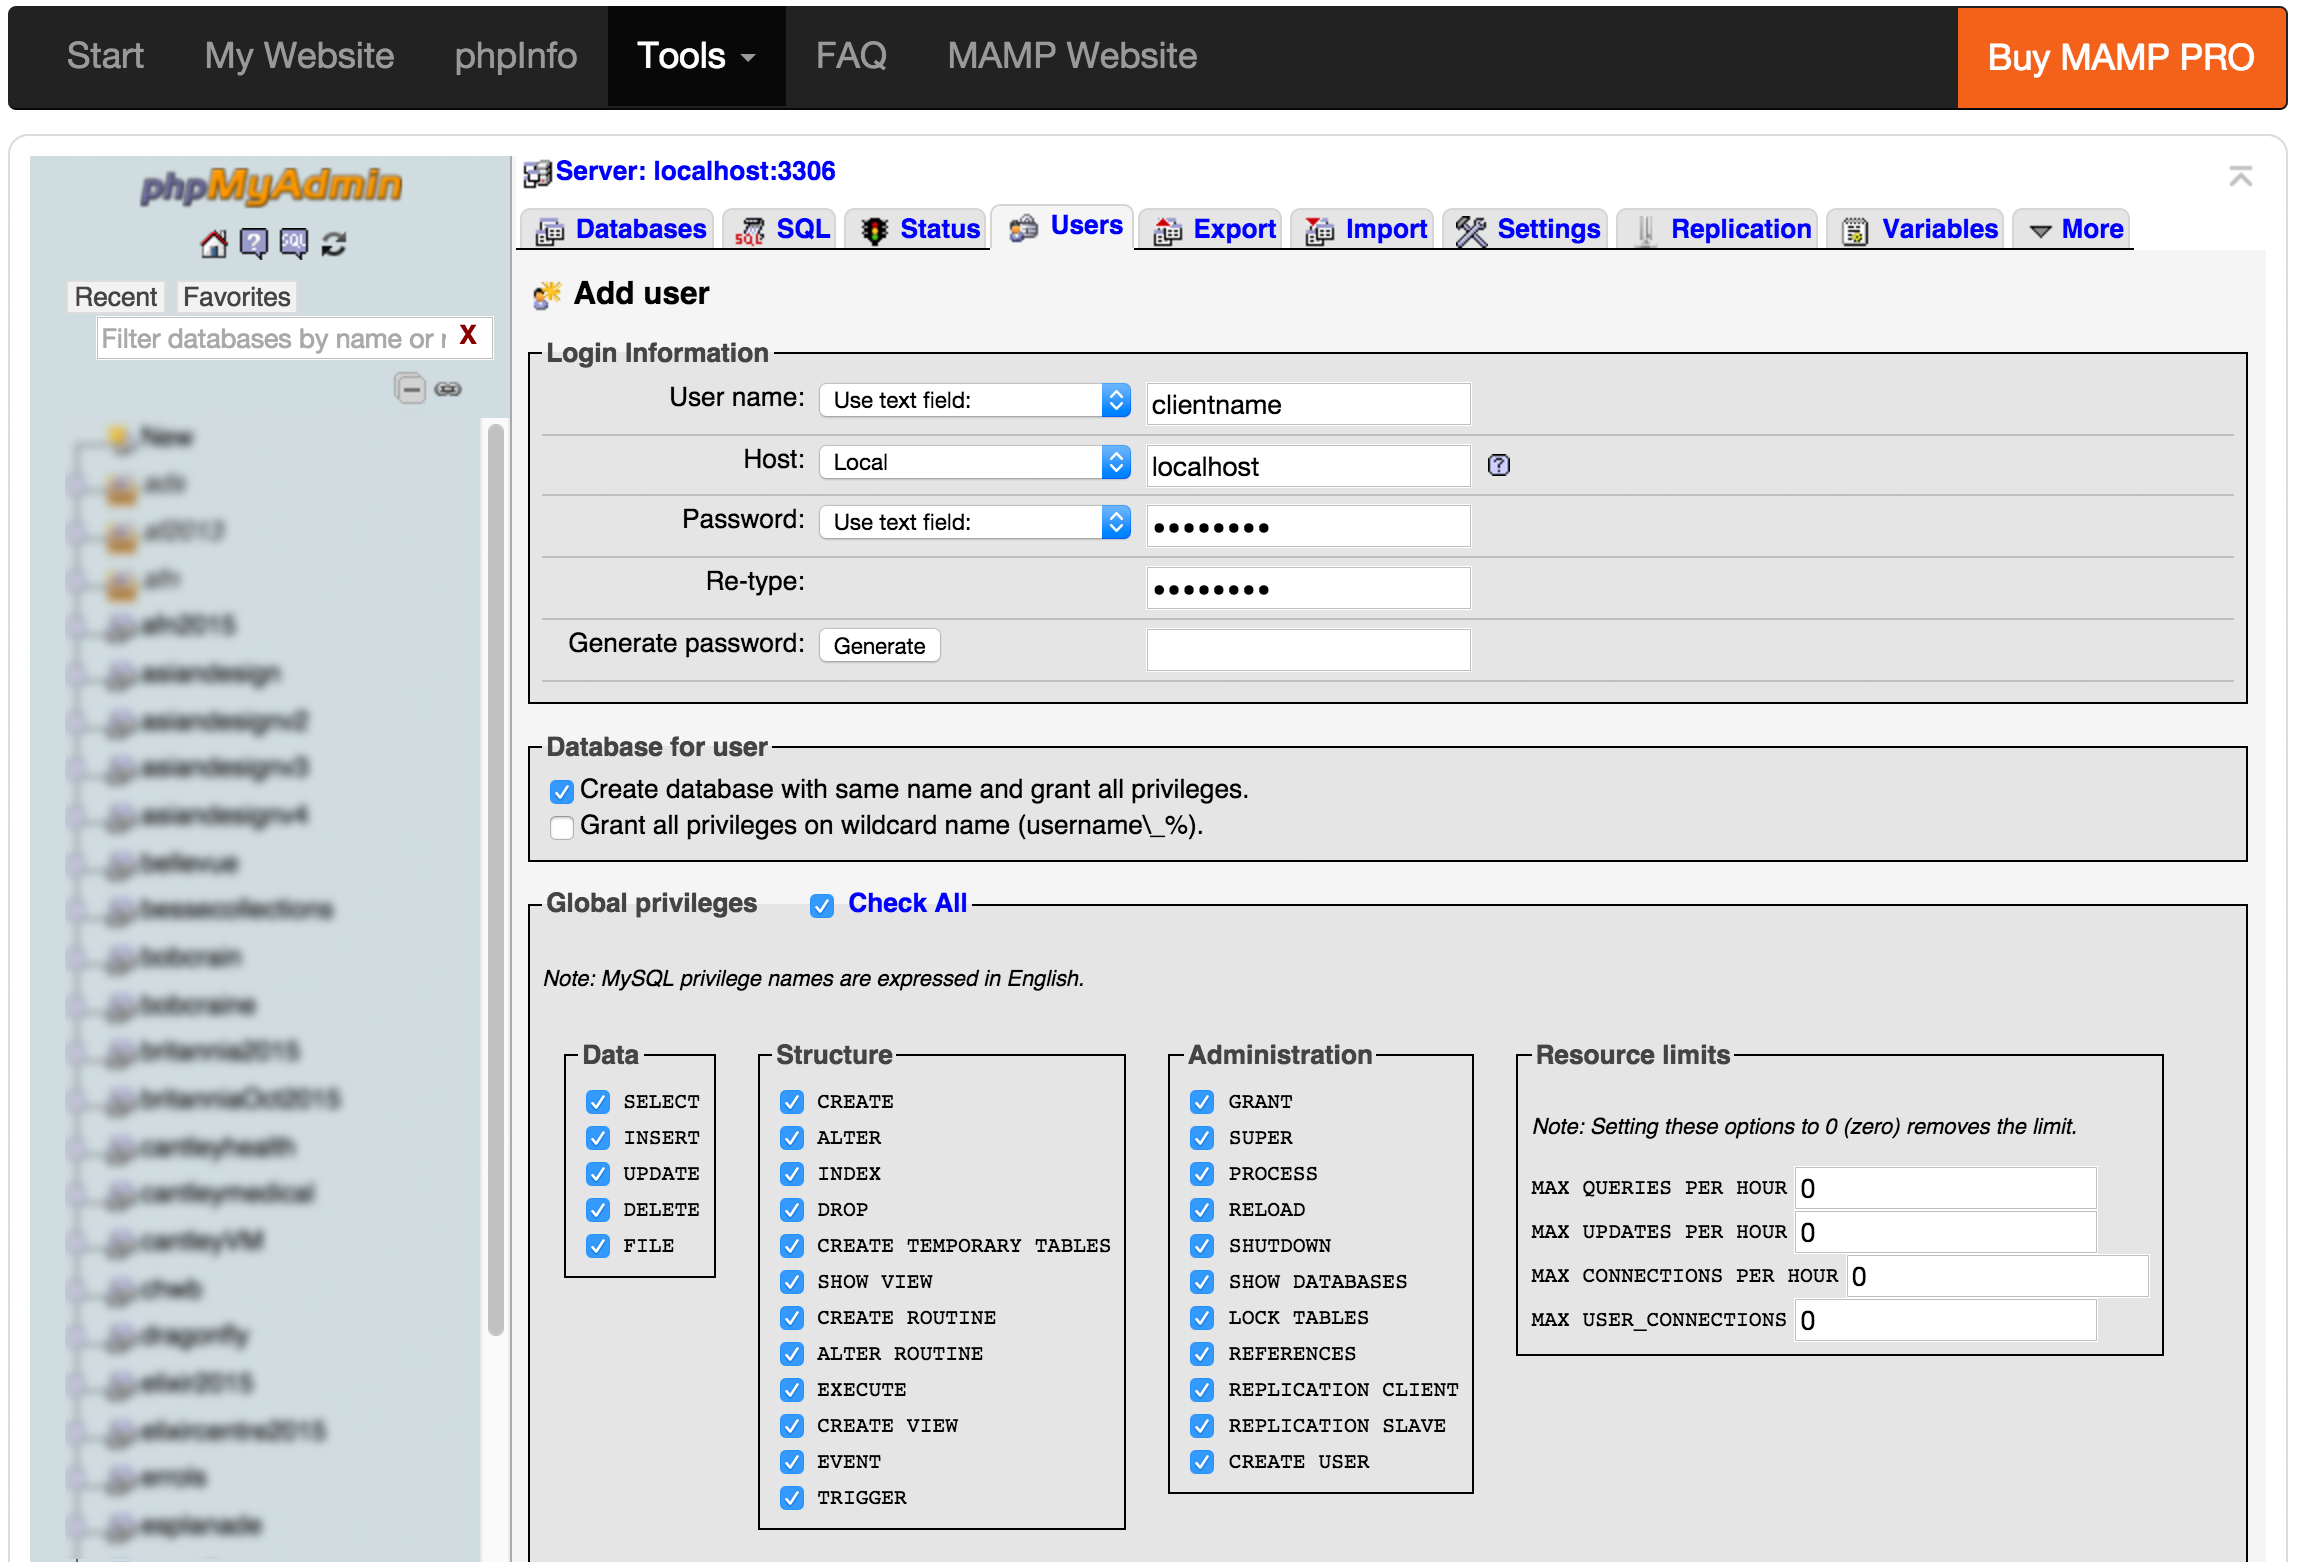
Adding a Database User and creating the Database.
- Once phpMyAdmin has booted up, click the Users Tab.
- Click the link on the page to Add User.
- Add your username (no spaces or slashes)
- Choose localhost
- Add your password
- Write down these credentials on a piece of paper!
- In the Database for user section, check Create database with same name and grant all privileges.
- In the Global privileges section, Check all.
- Lastly, hit the Go button at the bottom of the page.
Your user and database are now set up!
Step 4 : Running the WordPress installation.
If you’re developing more than one website, you should have a separate WordPress installation for each site. That would mean that instead of unpacking all the WordPress core files directly into www or htdocs, you’d unpack each wordpress installation into its own folder. For instance on Windows that might be C:/wamp/www/clientname or on a Mac, Applications:MAMP:htdocs:clientname.
Remember, each WordPress installation requires it’s own WordPress core files plus a database. It’s not mandatory to have a separate database user for each site, but it makes it easier to manage.
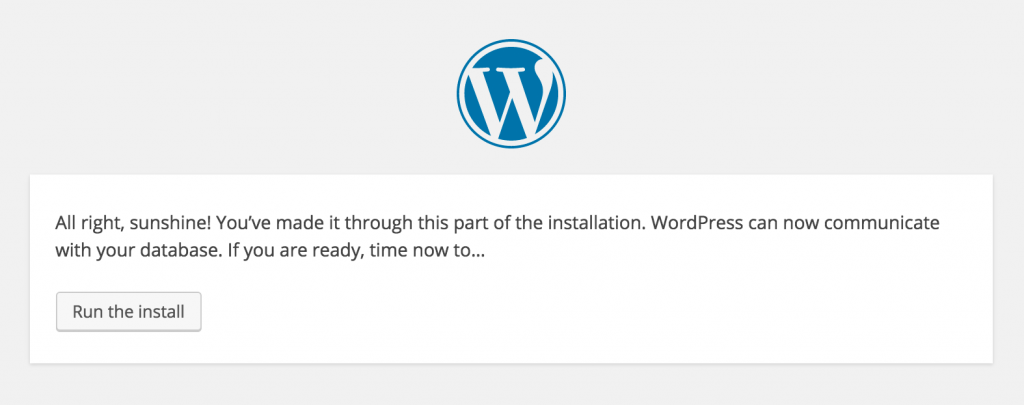
OK so do the install already!
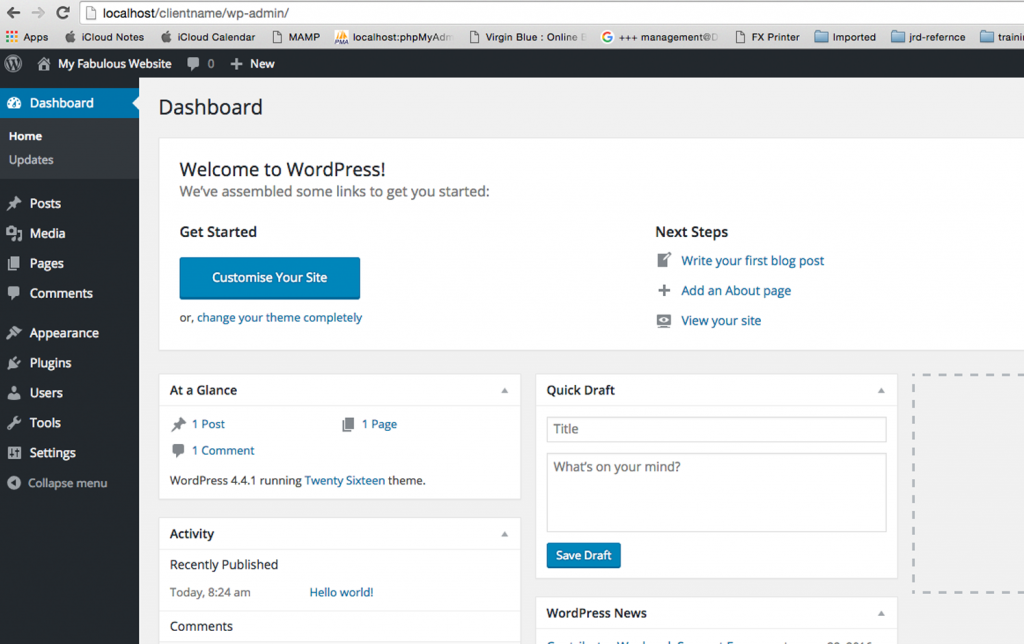
- Browse to http://localhost/clientname.
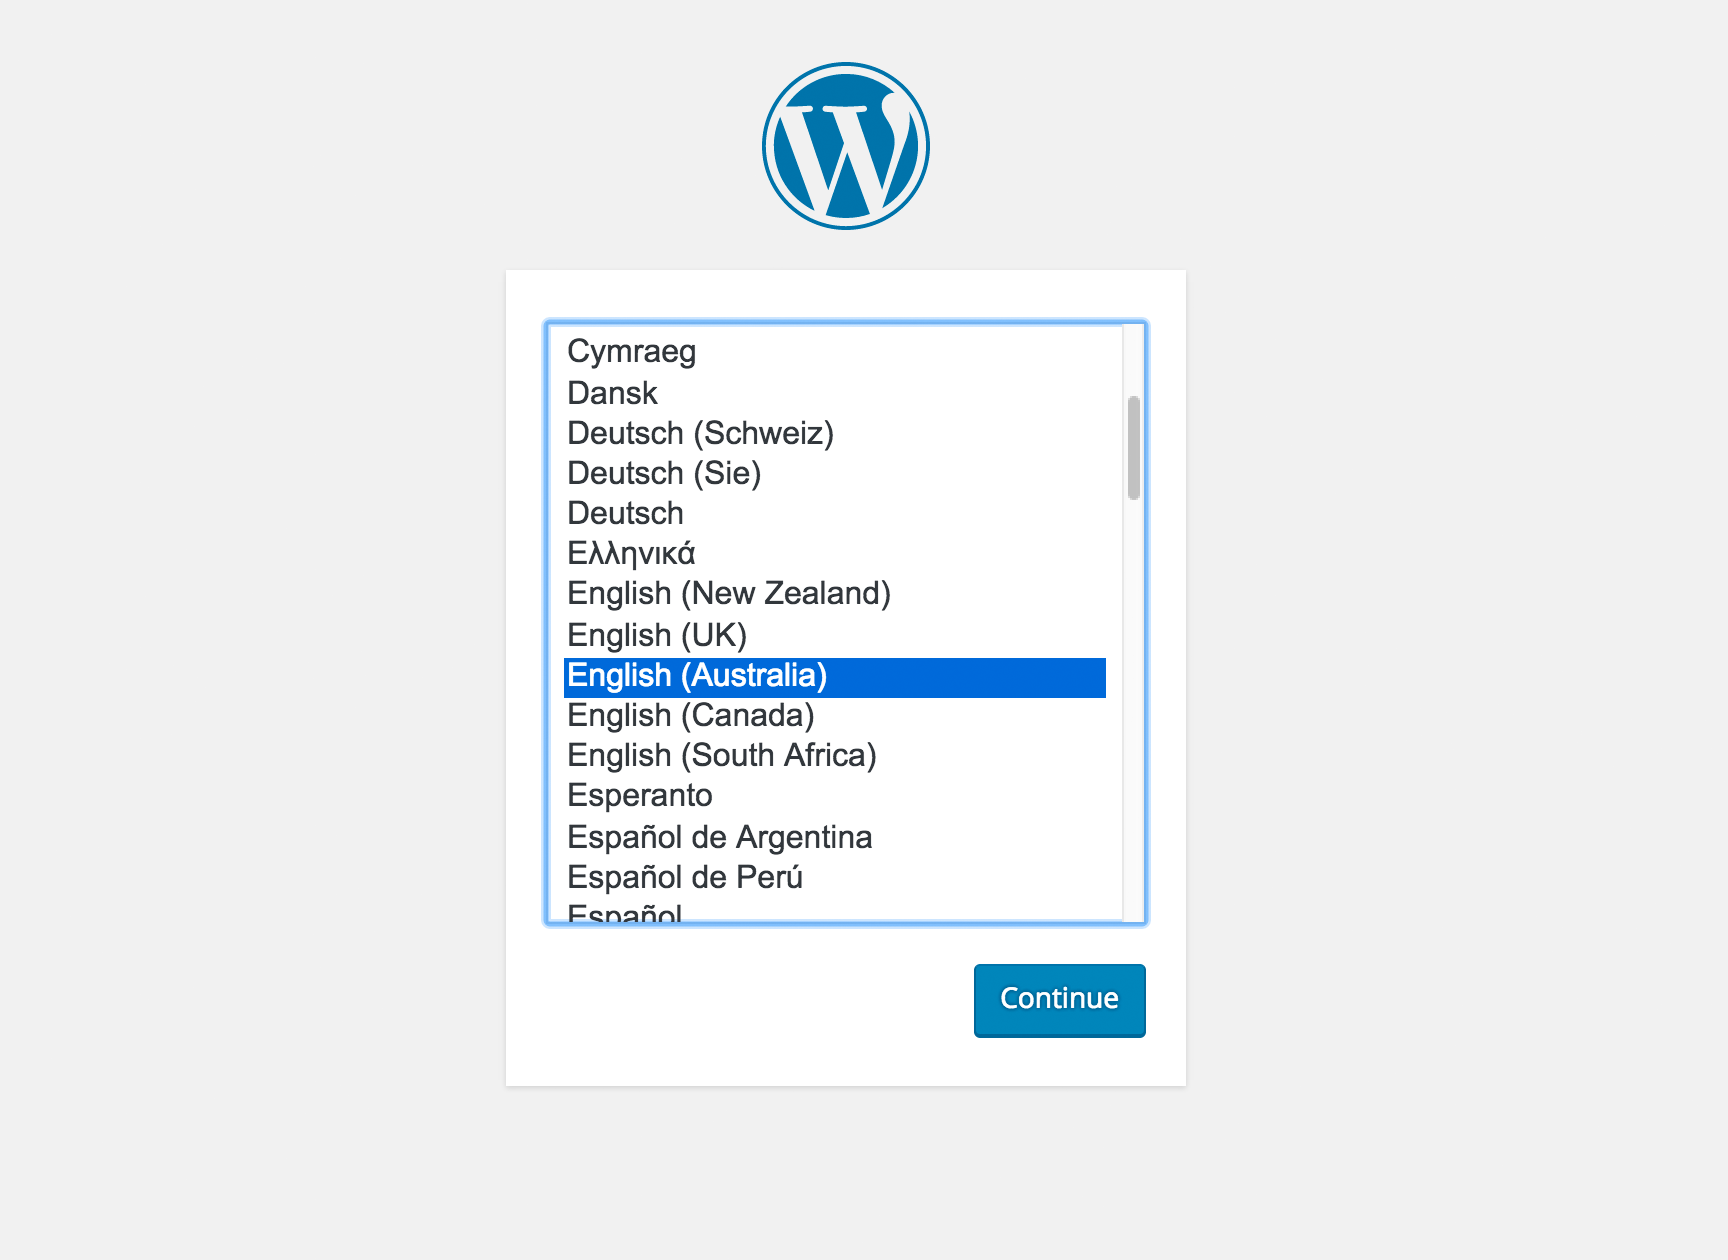
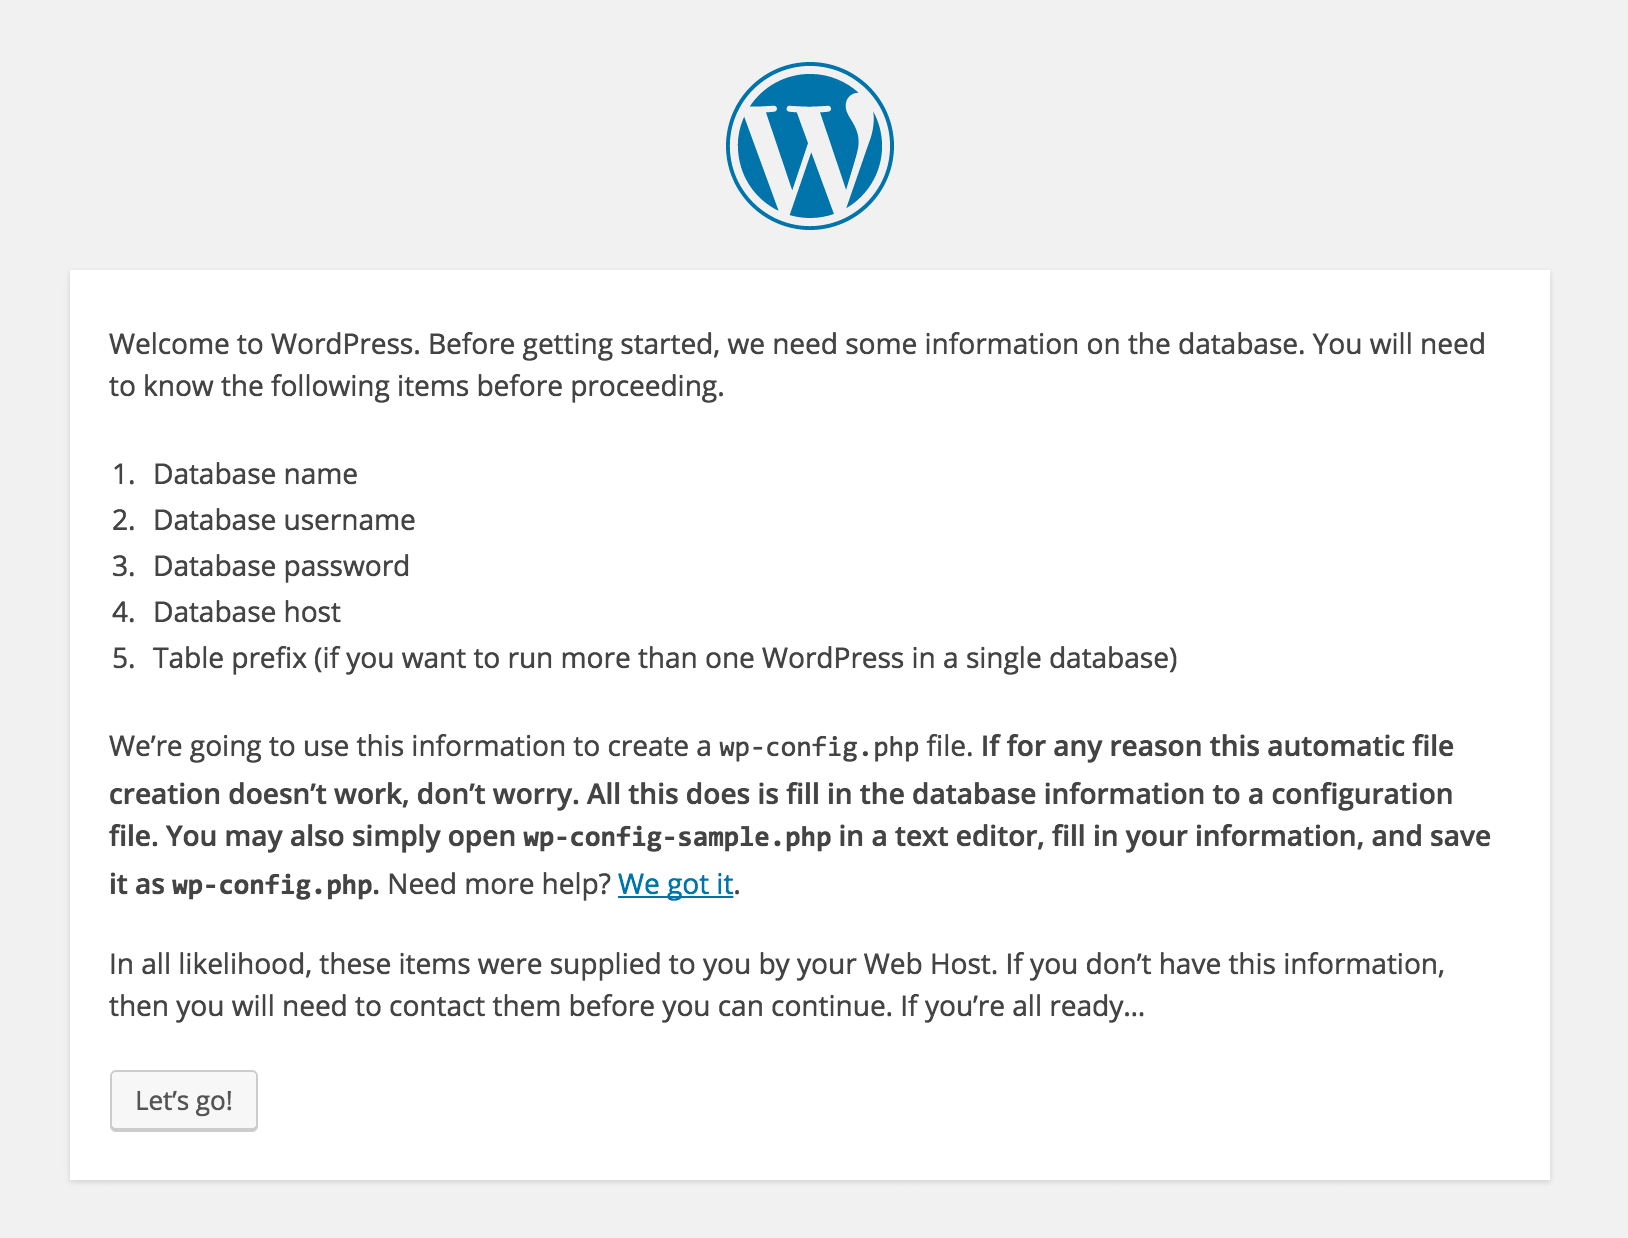
- The installer page should pop up and guide you through.
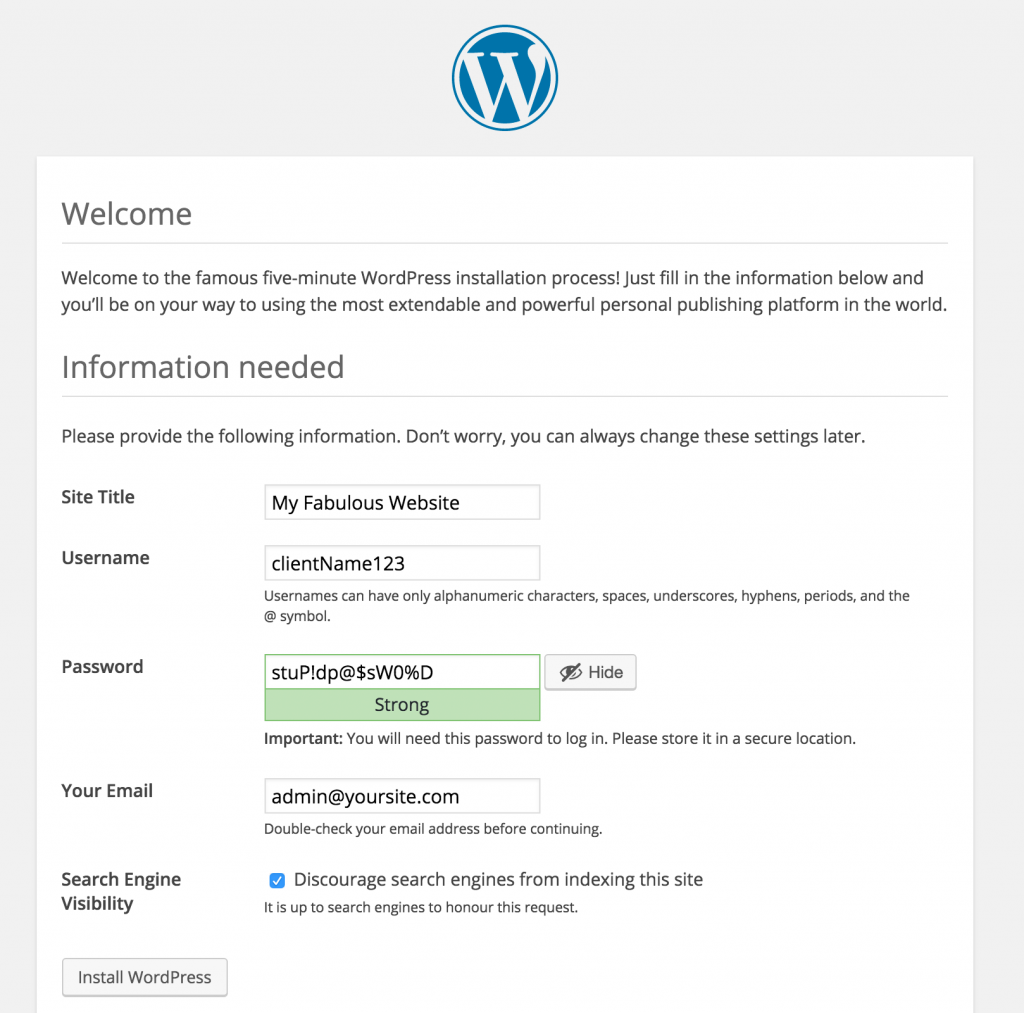
- Choose the language you wish your WordPress Dashboard to use.
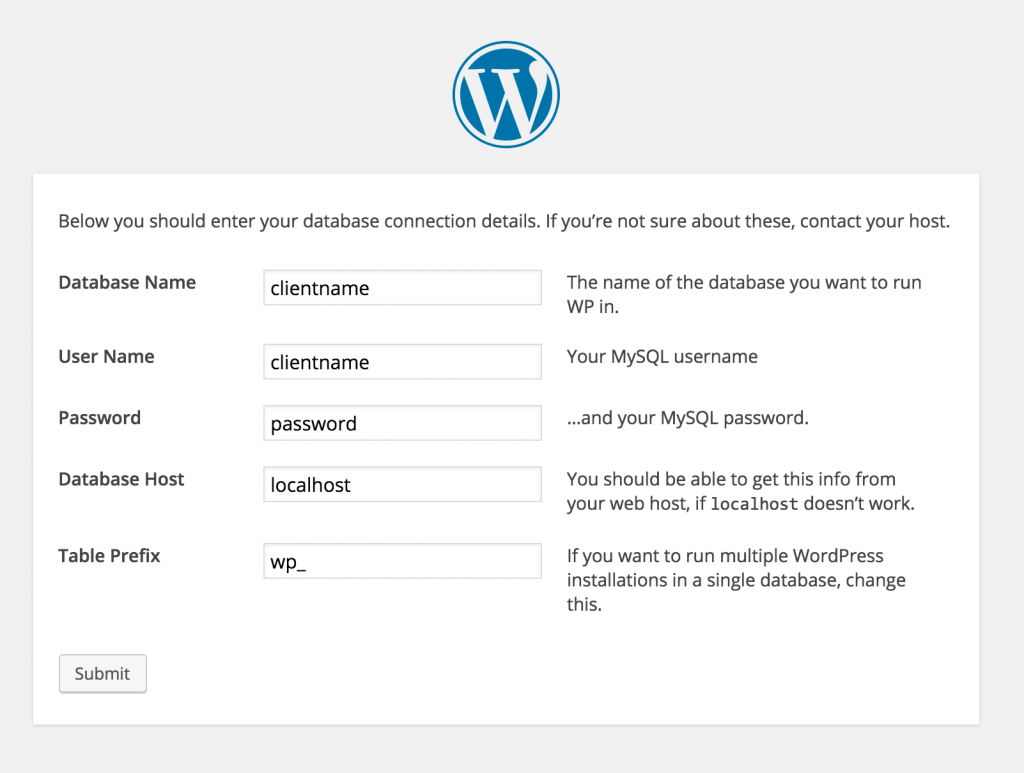
- When the page appears, enter your database name, database username and password. Forgotten it already?? Just as well you wrote those details down on a piece of paper!! Hit the button!
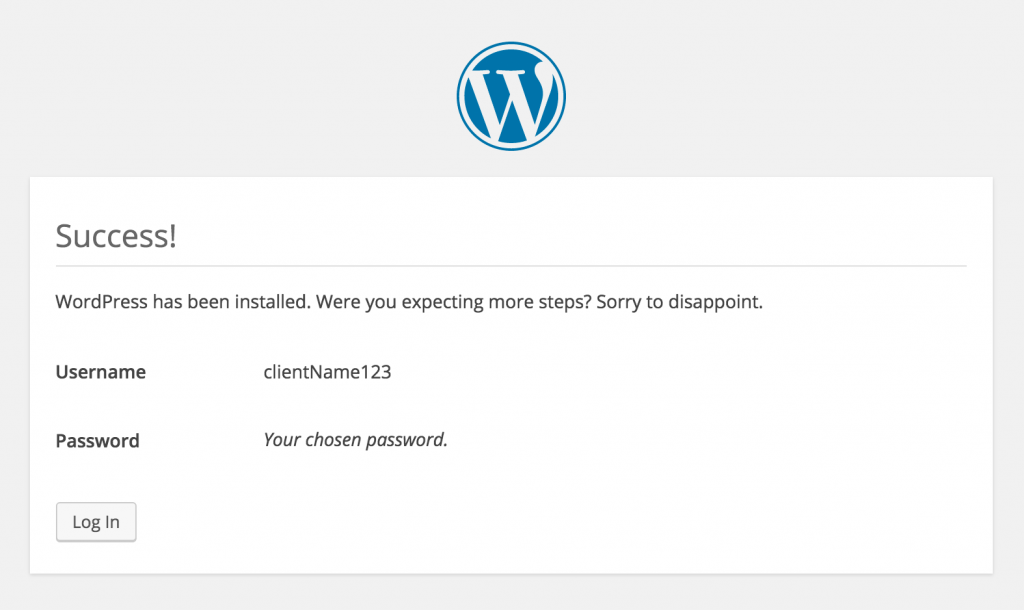
- WordPress will now install and eventually you’ll be asked to give your site a name.
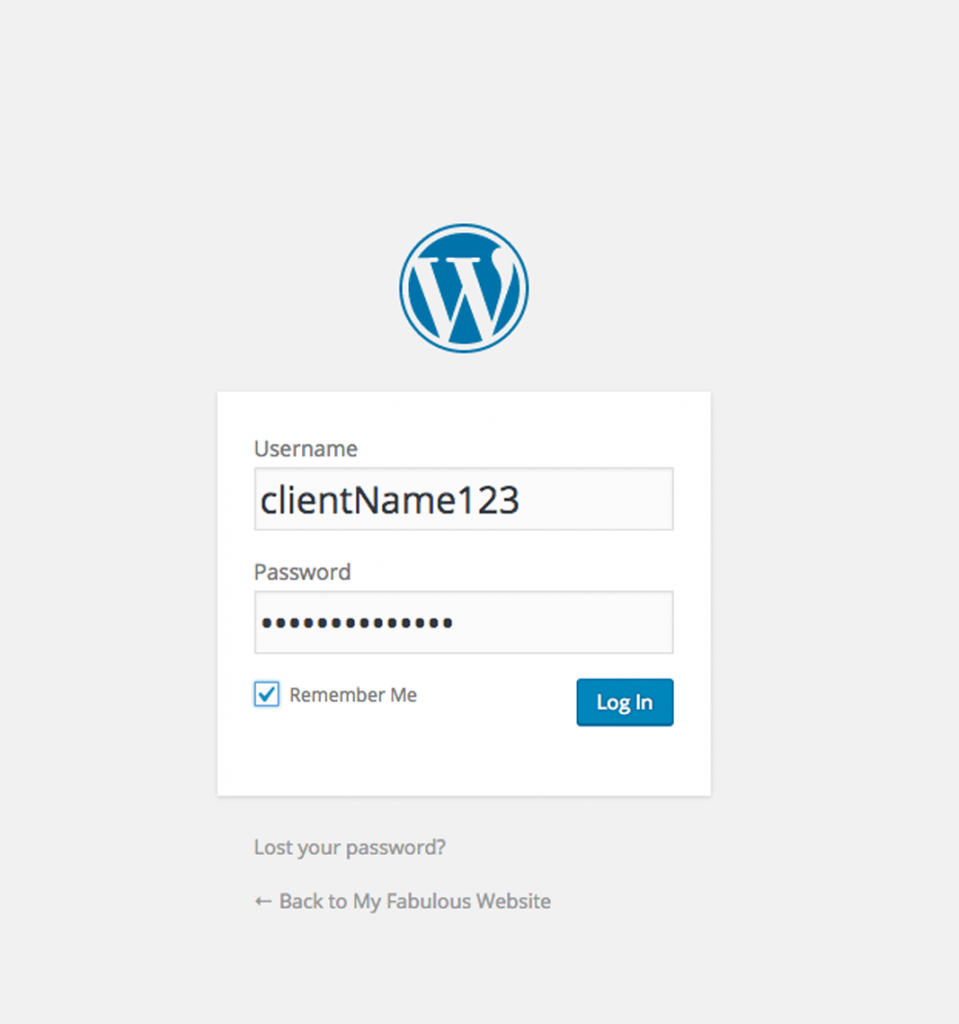
- WordPress will also ask you for an administrator username and password. Note that this is for access to the WordPress Dashboard, NOT the database!
- Write these details alongside the previous credentials and keep them safe.
A quick tip for young players: don’t use usernames or passwords that are easy to guess, like admin and password! (Unless you want to be hacked in 2 second flat!).
 | © 2014 John Ryan Design | All Rights Reserved | 100 percent Australian |