How to create a data entry form with Formidable Pro in WordPress
This is the first of a series of three tutorials showing you how to create a form using Formidable Pro that you can use it to search entries that were created by a form created in this exercise. Results will be presented in a list and eventually be viewable and editable from the front end. This first tutorial concerns itself with the creation of the data entry form.
Here’s what we’re going to do:
- We’re going to create a form that allows users to create entries that will be searched using the form we create in the next exercise.
- We’ll create form fields for a link title, a link URL, a description of the link, and a link caption.
- We’ll ensure that the form entries are editable from the front end.
Here are the requirements:
- An installation of the Formidable Forms Plugin
- An installation of the Formidable Forms Pro Plugin
- A page to host the ‘Link Entry’ form that we create.
Here are the steps:
- Create the link form.
- Add fields to collect a title, description, link URL, image upload and image caption.
- Change Form permission settings to allow front-end editing of entries.
- Create a new page and insert the form.
Remember that you can click the images for a closer look.
Step 1 : Create the data entry form.
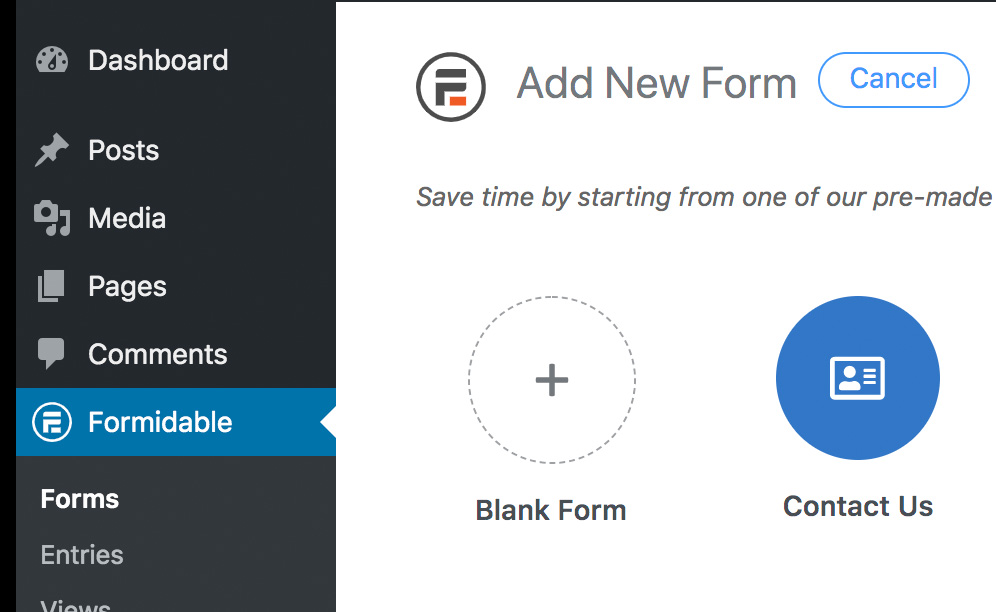
- In your WordPress dashboard, find the Formidable menu and click Forms.
- Click the Add New button to create the form.
- Click the button to create a Blank form.
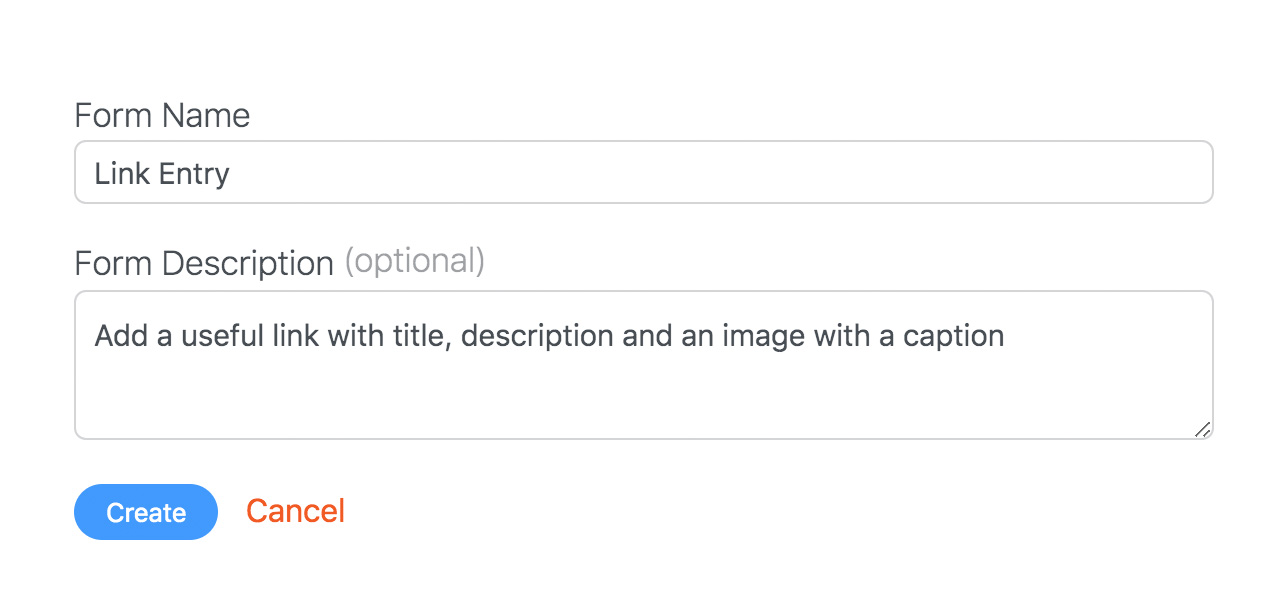
- Once the form has been created, add your Form Name and Form Description.
- Click the Publish/Update button

Step 2 : Create the form fields.


Remember that the first screen that you see when you create a form is the Build screen. After you create the form fields, you’ll move through the other menu items to complete the project.
Required fields:
- Link Title – single line text field.
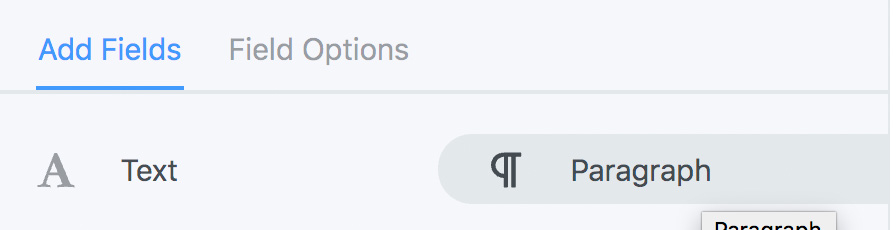
- Link Description -multi-line text field (paragraph).
- Link URL – website url field.
- Image – file upload field.
- Image caption – single line text field.
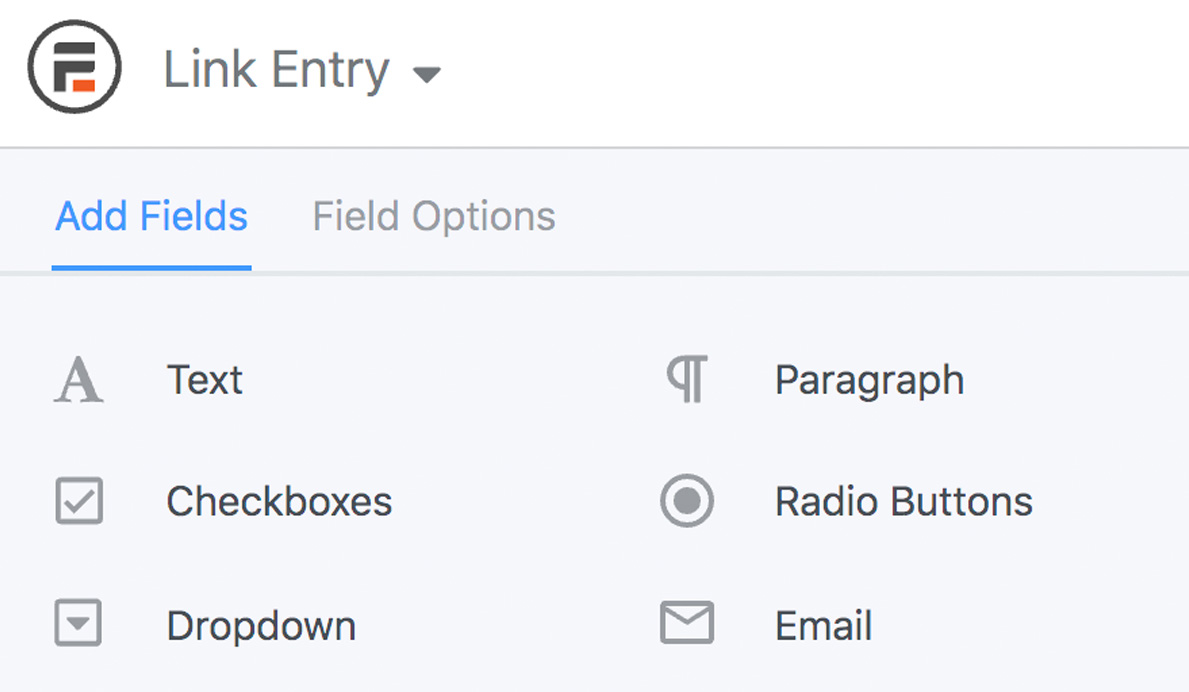
Add fields like this:
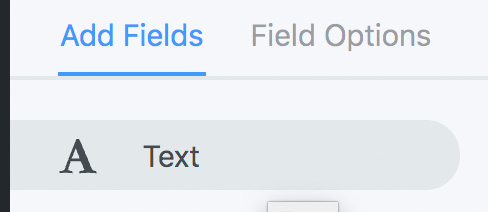
- In the left column, click the Add Fields tab, and click on the appropriate field type to add it to your form.
- Once you have added your field, ensure the field is selected, then click on the Field Options tab in the left column.
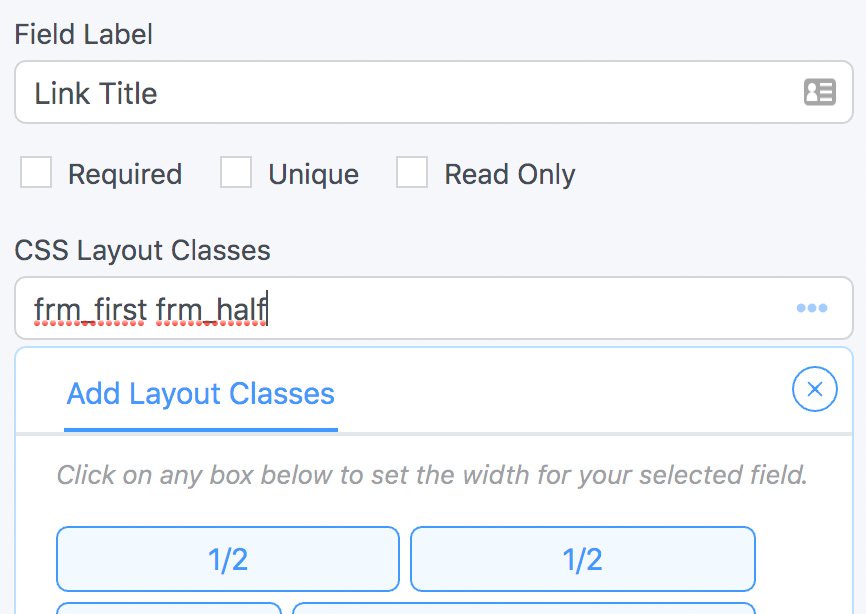
- Add the field name in the Field Label area.
- Add CSS Layout Classes to lay the fields out as desired.
Add the following fields – Labels and types as below:
- Link Title – single line text field.
- Link Description -multi-line text field (paragraph).
- Link URL – website url field.
- Image – file upload field (you can set file type and size restrictions in the Advanced tab).
- Image caption – single line text field.
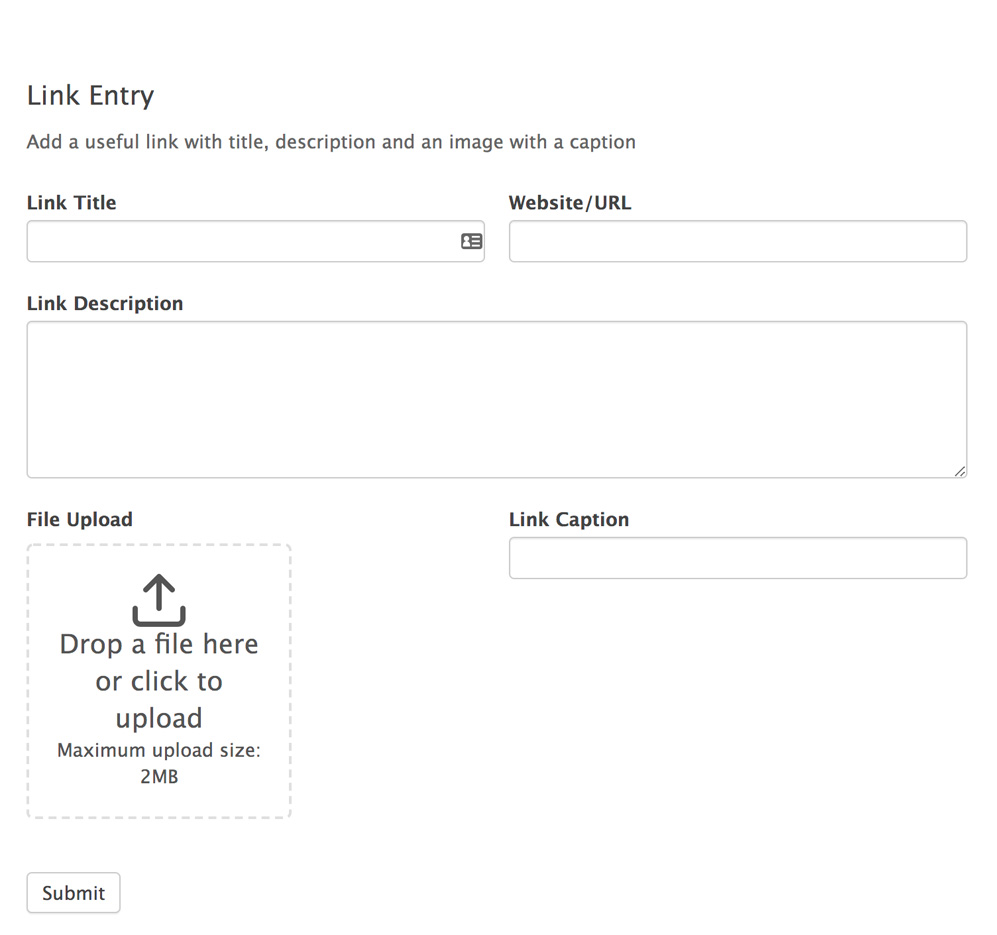
Preview your form.
Click the Update button and then the Preview button at the top right of your screen.
Your form should look something similar to this:
Step 3 : Change form settings.

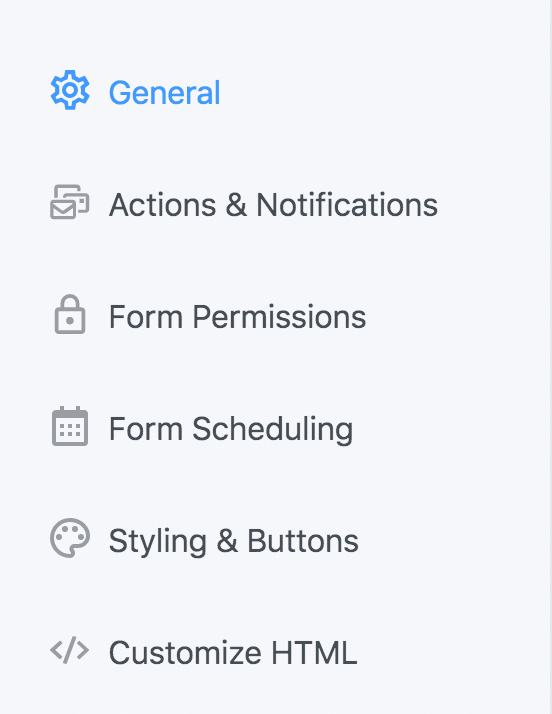

Form Settings:
(click each tab on the left hand column to view/change settings)
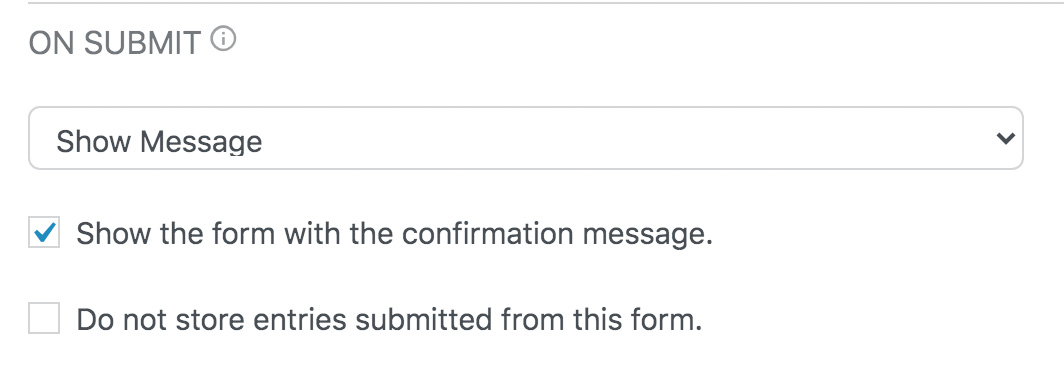
General Settings:
Check that the form title and description are to your liking. Edit them as required.
In the On Submit section, check the box next to
Actions and notifications settings:
The default setting sends an email to the website administrator when the form is filled out. We’ll discuss other options in another tutorial.
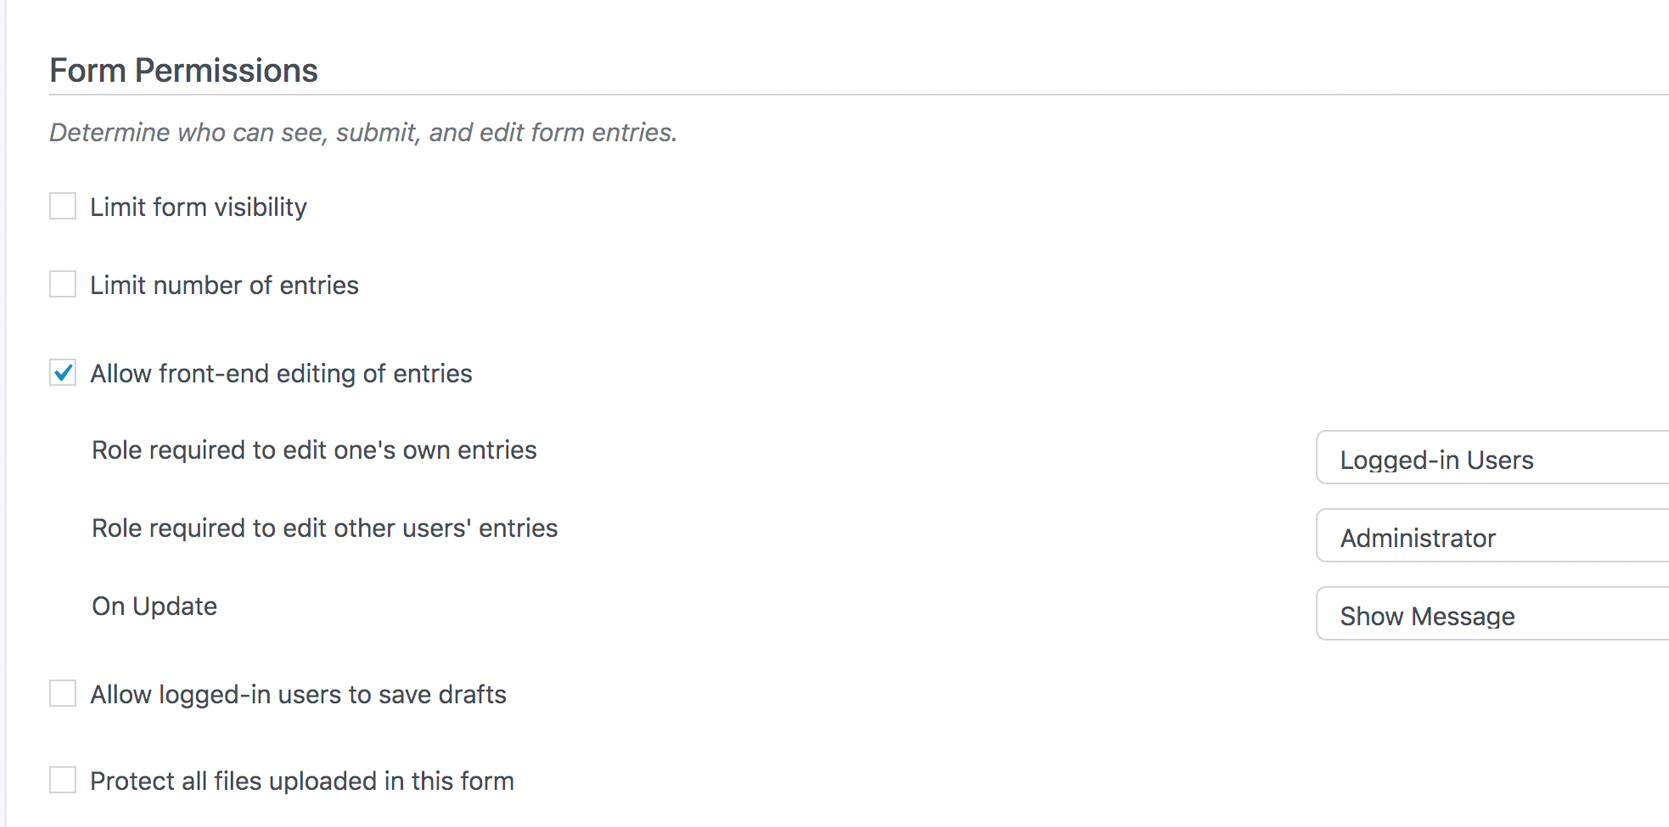
Form Permissions:
Check the box next to Allow front-end editing of entries. Set the permissions to Logged-in users or Administrators.
Step 4 : Create new page and insert data entry form.
- Click the blue Update button to save your form.
- Now go to your Dashboard and click the Pages menu.
- Create a new page, give it a title ‘Link Entry Page’ – or whatever you want to call it.
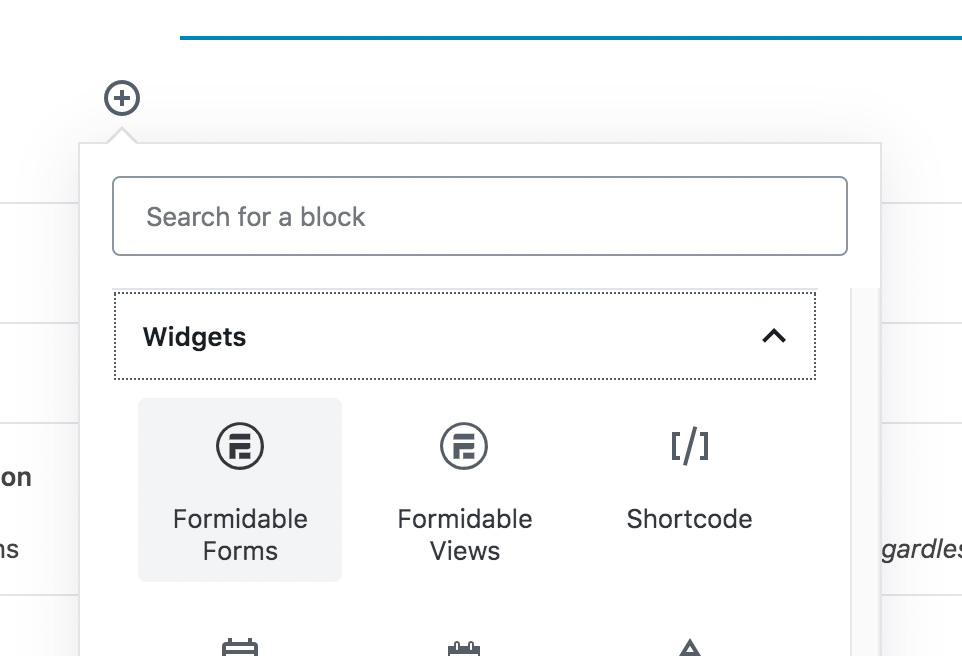
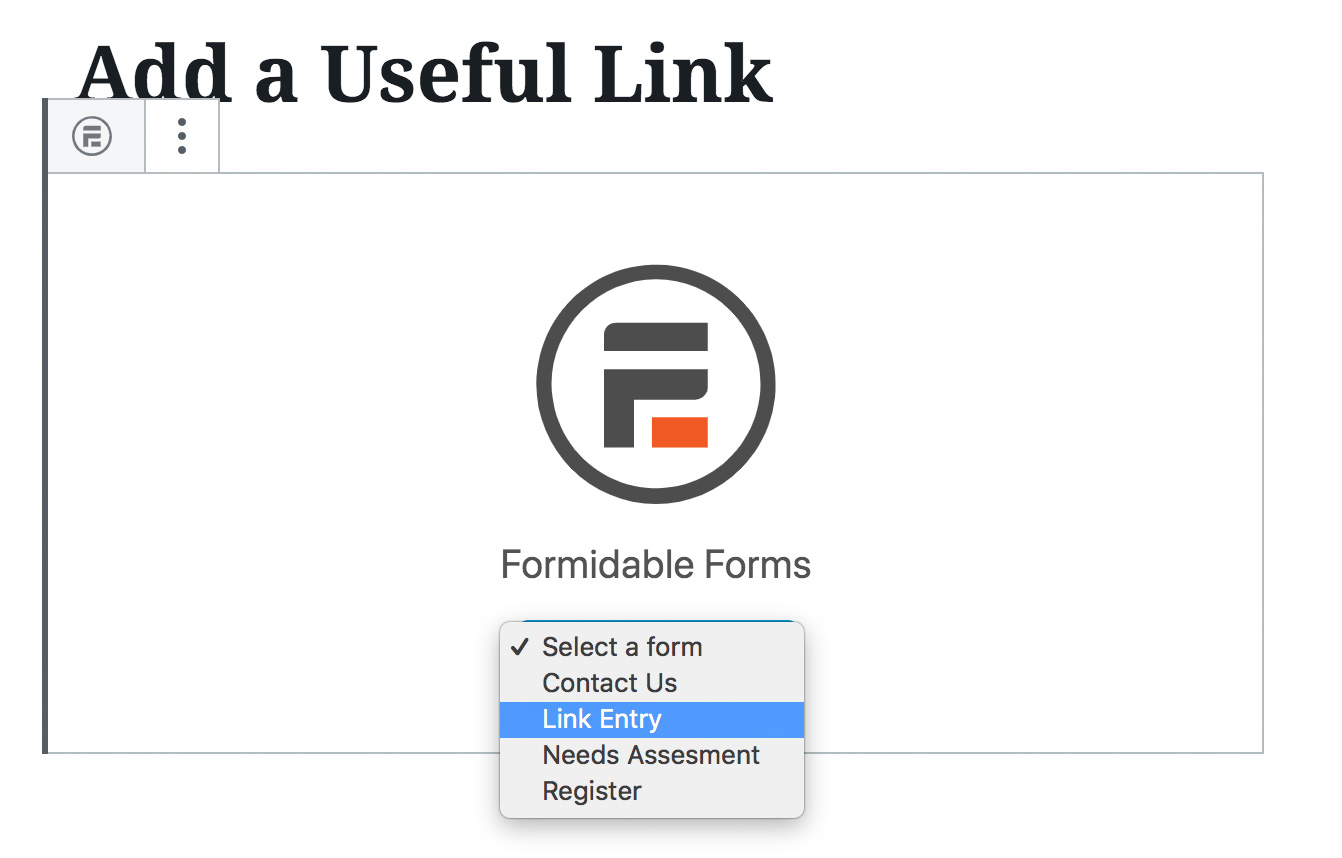
- Depending on the theme you’re using, this next step may present differently. I’m using a stock-standard WordPress theme with the basic Gutenberg editor that allows me to add blocks.
So add a block and choose the Formidable Forms Insert Form button, making sure that you don’t insert a ‘view’. - Choose the data entry form that you just created from the dropdown list and insert.
- Publish/Update your page and view it in a browser.
 | © 2014 John Ryan Design | All Rights Reserved | 100 percent Australian |