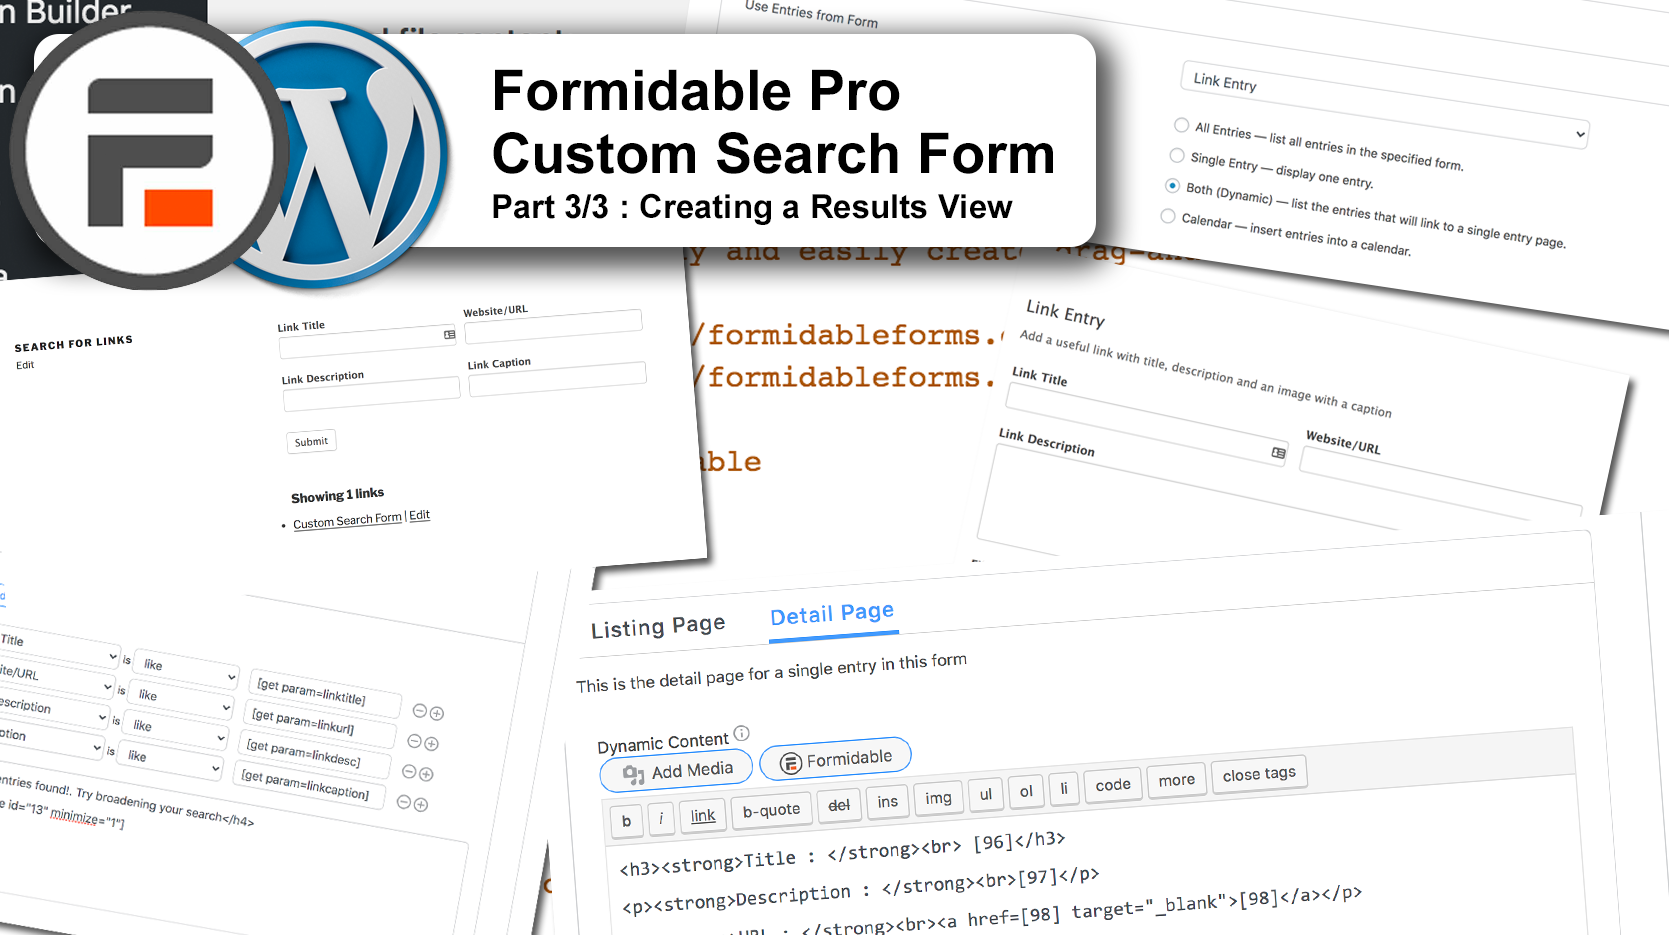
How to create a Results View with Formidable Pro in WordPress
This is the last of a series of three tutorials showing you how to create a form using Formidable Pro that you can use to search entries that were created by a form created in the first exercise. In the second exercise you created the search form and in this last exercise , results from a search will be presented in this list (called a ‘View’) that we’re going to make here. This last tutorial concerns itself with the creation of the data view.
Here’s what we’re going to do:
- We’re going to create a Results View in Formidable Pro (essentially a layout of the form’s entries).
- We’ll define the ‘Link Entry’ form as the source of our data.
- We’ll create a Dynamic View which will be presented in two parts:
- Listings Page : A list of all the entries with a clickable View or Edit link
- Detail Page : The individual entry which (depending on which link was clicked) will either show the information, or allow the information to be edited (depending on how the permissions were set in the initial data entry form)
- In the Listings Page, we’ll use a shortcode to reference the Link Title, and other shortcodes to create the view/edit links. (note that the WordPress ID of the page that hosts the original entry form is required for this to work).
- In the Detail Page, we’ll create a framework of headings and paragraphs as simple HTML, and insert the field variables as shortcodes.
Here are the requirements:
- An installation of the Formidable Forms Plugin
- An installation of the Formidable Forms Pro Plugin
- Some data entered (a few entries would be useful) in the ‘Link Entry’ form
- The ID of the page that contains the ‘Link Entry’ form that we created in the first tutorial.
Here are the steps:
- Create the form view.
- Connect the form data.
- Add HTML and shortcodes to create the view content.
- Add the Search form to the top of the View.
- Insert the View on a new page.
Remember that you can click the images for a closer look.
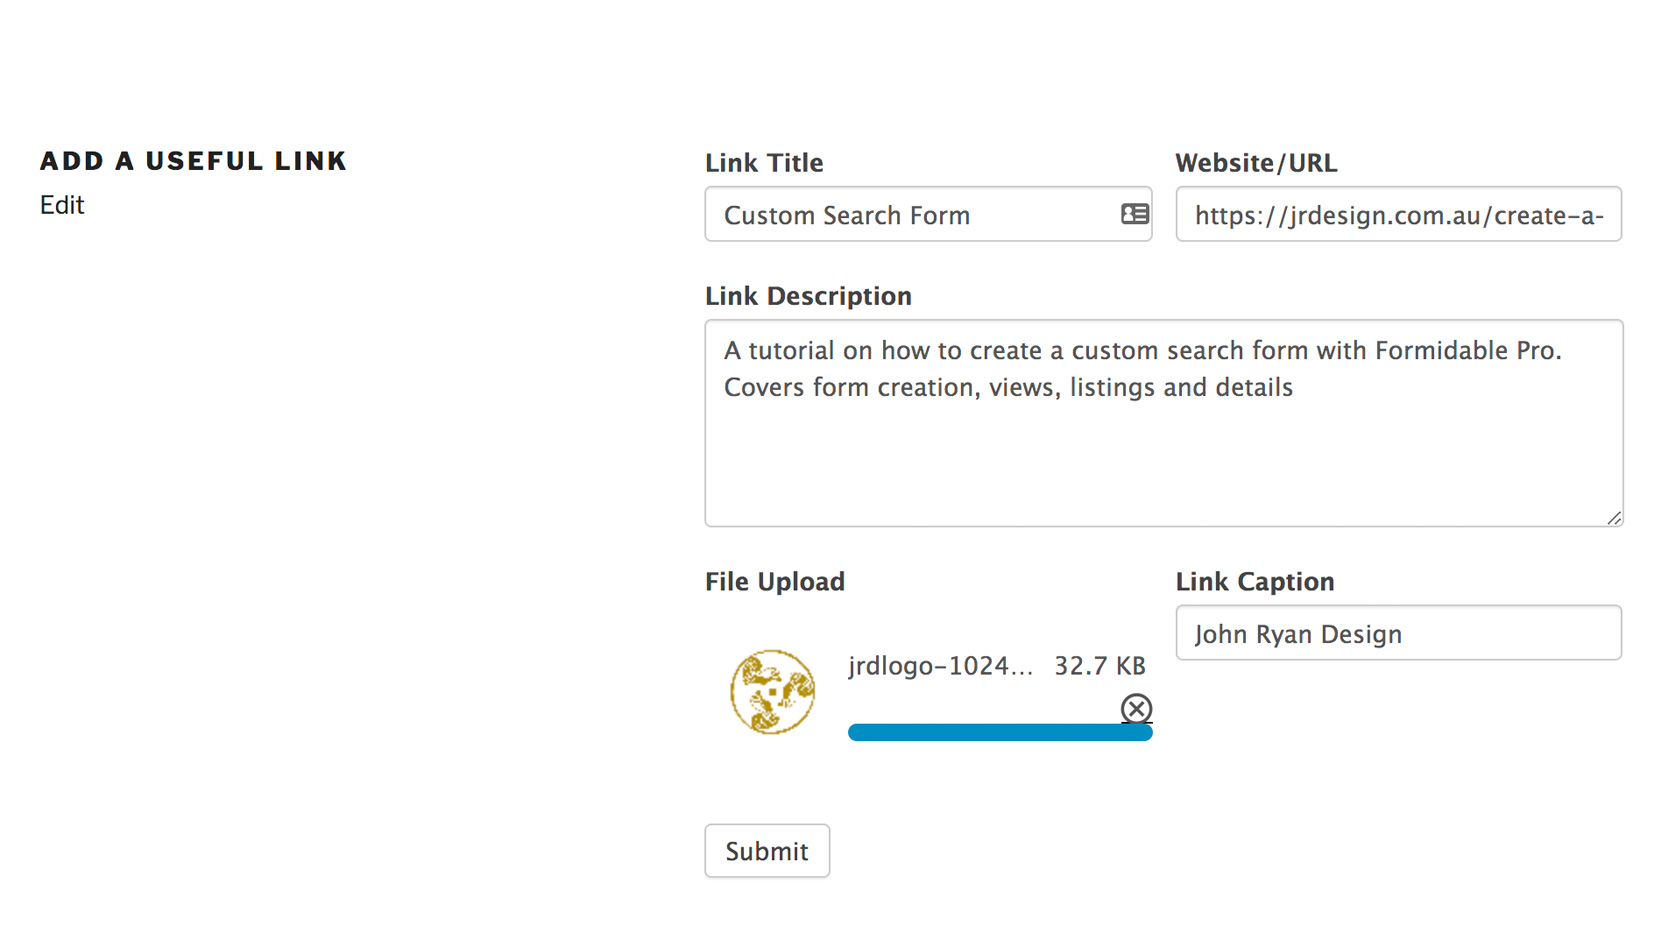
Prerequisite : Insert data.
If you haven’t done so already, you’ll want to create an entry and insert some data into your ‘Link Entry’ form.
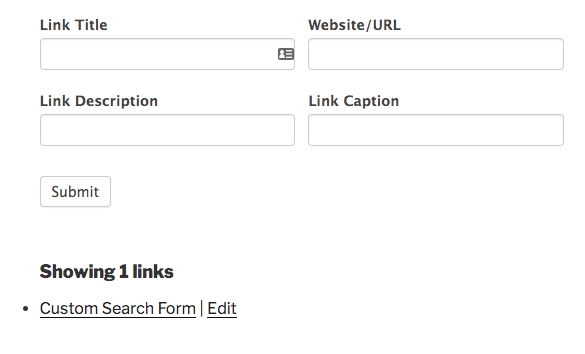
- Browse to the page where you added the form.
- Add a Link Title, Link URL and Link Description.
- Upload an image, and add an Image Caption.
- Submit the form.
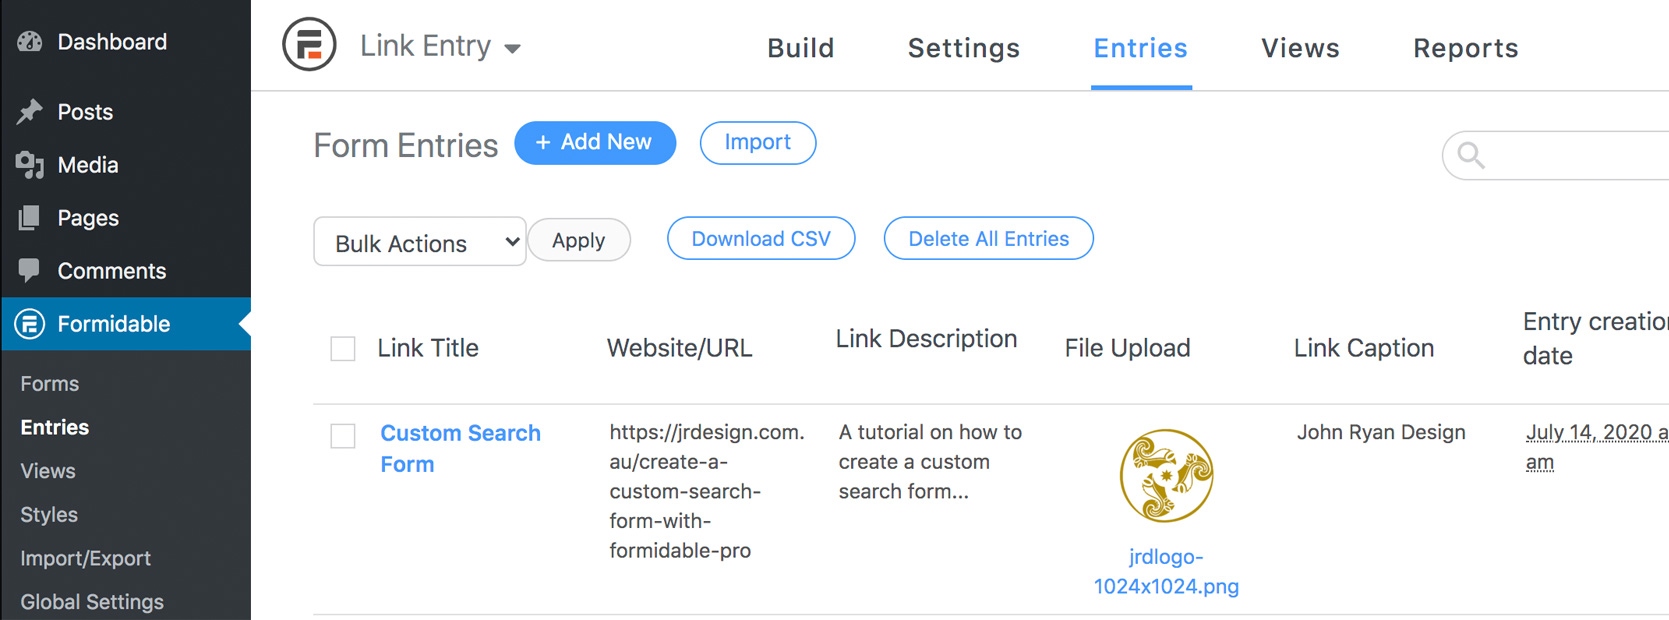
- Now navigate to your Dashboard, click the Formidable Menu and click Forms.
- A list of all the forms in your site appears.
- Observe that there should now be at least one entry for the ‘Link Entry‘ form.
- There are at least three ways to view entries on a form:
- Click the number in the ‘Entries’ column
- Click the form name and then the ‘Entries’ tab
- Click the ‘Entries’ button on the main Formidable menu and choose the form whose entries you wish to view from the dropdown list.
Step 1 : Create the results View in Formidable Pro.


- In your WordPress dashboard, find the Formidable menu and click Forms.
- Make note of the ID or copy the shortcode of the ‘Link Search‘ form we created in the previous tutorial. (In my case, it’s 13)
- Click the Link Entry form that we made in the first tutorial.
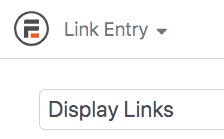
- Click the Views tab at the top of the page.
- Click the Add New button to create a new View. Add the name Display Links.
- Please ensure that you’re assigning this view to the ‘Link Entry’ form and not another form.
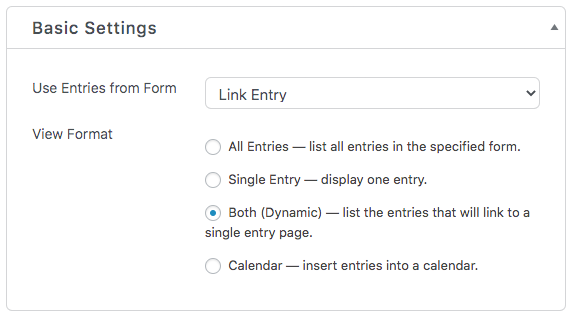
- In the Basic Settings area,, choose Link Entry from the dropdown menu to use the entries from that form as the source of the data we wish to display.
- From the View Format list of Radio Buttons, choose Both (Dynamic) — list the entries that will link to a single entry page.
- Click the Publish/Update button
Step 2 : Create the Listing Page.
Remember that our end goal here is to have a page containing a search form and a list of entries that may be filtered based on what’s entered into the search form.
We could easily redirect the result to another page, but it’s more efficient to have the search form and the results on the same page.
So here you see the search form with results, the entry detail, and the editable entry.
Listing Page : Before Content
The first thing we’re going to do is to insert the shortcode for the search form before any content on the Listing Page. You should have either copied the shortcode in the previous step, or at least made a note of the ID.
- Add the shortcode in the ‘Before Content’ area : and replace “13” with the ID of your search form.
- Type the HTML for an opening unordered list. (you’ll need to close this tag in the After Content section at the bottom of the page).
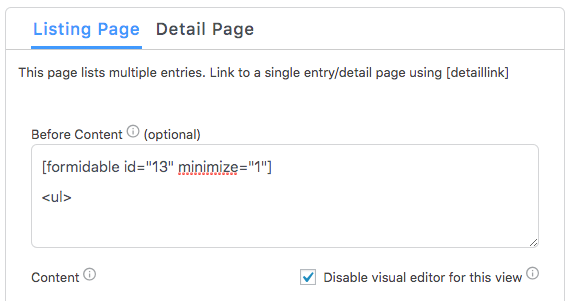
Listing Page – Content:
I suggest that you ensure that you have checked the box next to ‘Disable visual editor for this view’, as you need to be able to correctly format any HTML entry here.
The result we’re aiming for is a single line of text containing the clickable Link Title (to just view the entry detail), and clickable text to allow editing of the entry.
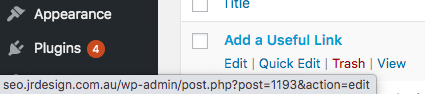
You will also need to know the ID of the page that you created that hosts the original ‘Link Entry’ form. You can do this by going to your Dashboard, rolling over the Link Entry page and looking at the bottom left of your browser window for something that looks like this :
http://seo.jrdesign.com.au/wp-admin/post.php?post=1193&action=edit.
In my case, the ID that I’m looking for is 1193.
Creating the Detail Link.
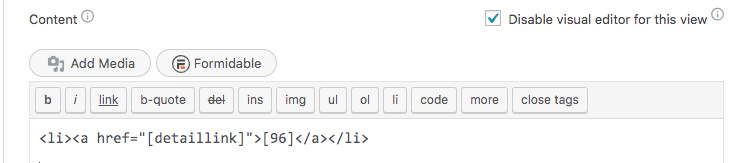
- Create the opening and closing tags for a list item.
- Insert an anchor tag inbetween the opening and closing li tags.
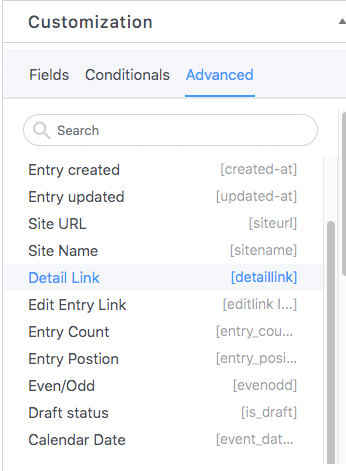
- Now place the cursor between the quotes of the href parameter value.
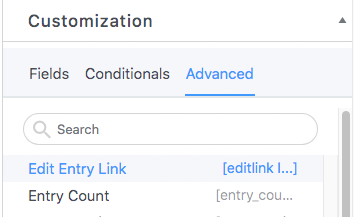
- On the right hand side of the page, click the Advanced tab and then click the Detail Link item.
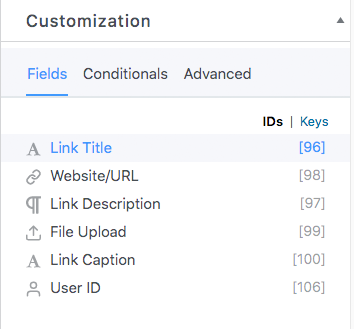
- Now Insert the Link Title by placing your cursor in between the opening and closing anchor tags, clicking the Fields tab on the right of the page, finding the Link Title in the list, and clicking it to place the shortcode to the variable. It’s likely that my Link Title ID (96) will be different to yours, so replace x with the ID of your field:
Creating the Edit Link.
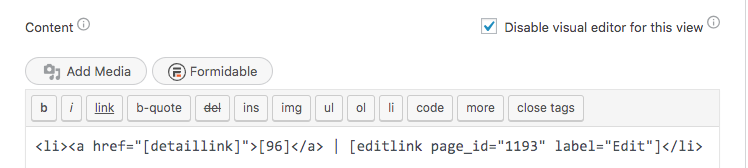
- Insert some space (I’ve also added a ‘|’ character) to the right of your closing anchor tag.
- Click the Advanced tab on the right, and scroll down the list to find Edit Entry Link. Click to place the shortcode.
- Now replace 1193 with the ID of the page you copied earlier.
- Remember that my Link Title field ID is 96 and the ID of the page that hosts my original Link Entry form is 1193. The values in your code should reflect your title ID and page ID.
- Click the Publish/Update button at the top right of your page to save the view.
Preview your page.
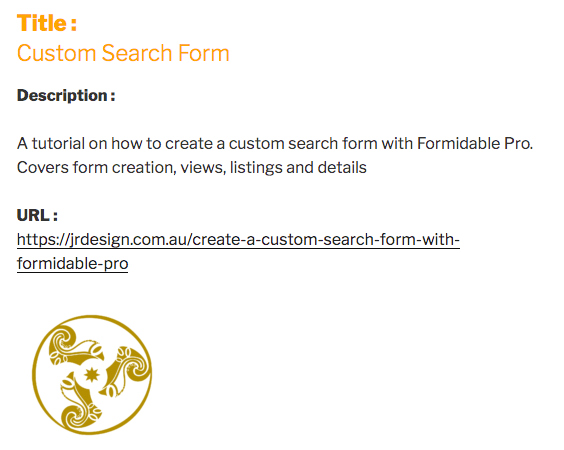
- At the top right, click the Preview button to see the search form and an entry with 2 links.
- Click the link that wraps the Link title to see the Link detail.
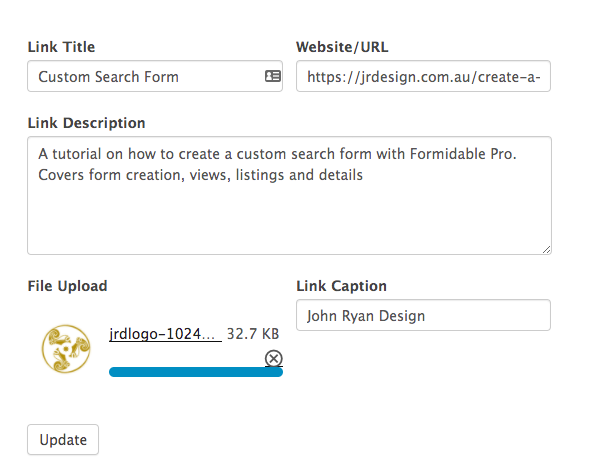
- Click the Edit link to see the editable entry.
 | © 2014 John Ryan Design | All Rights Reserved | 100 percent Australian |